Quick Answer: The Five Tests That Decide Before Bulk
Before a custom cooler bag order goes into mass production, the sample must pass five bench tests: a thermal retention test with hourly temperature readings, an inner-liner leak test, a handle and shoulder-strap load test, a loaded drop test, and a zipper cycle test. On top of that we check odor, wipe-cleaning, and the food-contact paperwork. If the sample only looks right, measures right, and feels right, you have not tested it.
The reason is simple: a cooler bag is a functional container. It keeps something cold, it must not drip on the way home, and it survives being carried full. Fabric weight and correct dimensions do not guarantee any of that. The failures we see after a lazy sample approval - "it does not stay cold," "water leaked on the customer's lap," "the handle tore off on day three" - are all failures that a two-day sample test catches on the bench, before 1,000 units are made.
The numbers below come from our own sample room in Dongguan. We call them factory sample tests, not accredited laboratory results. We are not claiming an ASTM number or FDA food-contact compliance unless we hold the actual third-party report in hand. If your market needs a specific standard, say so and we order the matching test before bulk. Our broader quality control process explains how these sample checks sit inside full production QC.
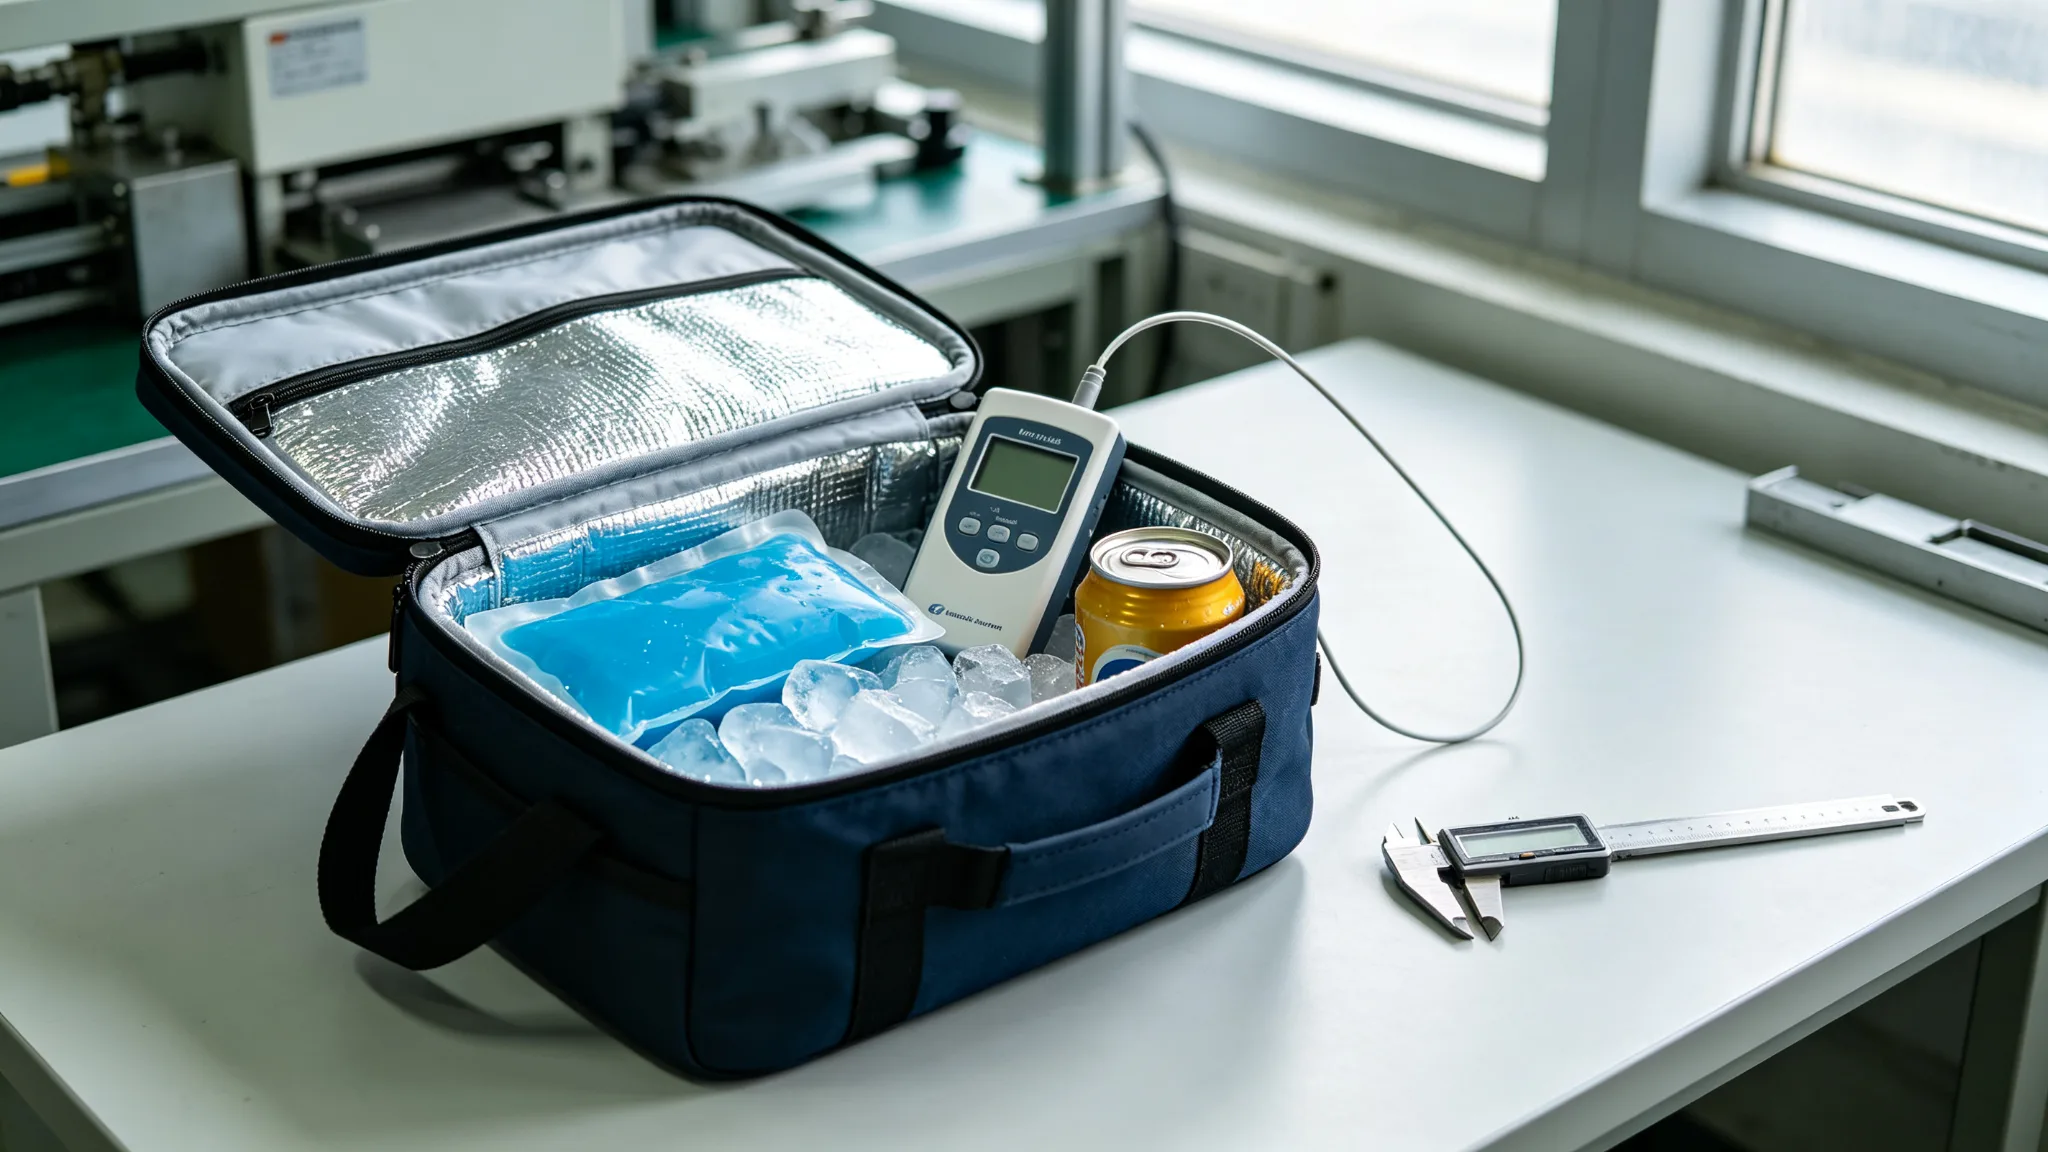
Why Fabric Weight and Dimensions Are Not a Quality Test
A 600D oxford looks durable, and a bag that measures exactly to spec feels like a win. But the parts of a cooler bag that actually fail are the interfaces: the liner seams, the zipper seal, the handle-to-body connection, and the amount of closed-cell foam between the inner and outer fabric. You cannot judge any of those from a fabric swatch or a tape measure. We learned this the hard way - a buyer once approved a sample because "the fabric felt thick and the size was perfect," then 2,000 units arrived and the PEVA liner wept at every bottom corner.
So when we receive a new cooler bag enquiry, the first sample we build is not for marketing photos. It is a functional sample made to the exact construction we will use in bulk: same liner, same foam thickness, same zipper, same handle. We run the tests on that sample because that is the only version of the product that predicts what the container will actually do. If you want to see how a bag is built from pattern to finished item, our how bags are made walkthrough shows the same production line.
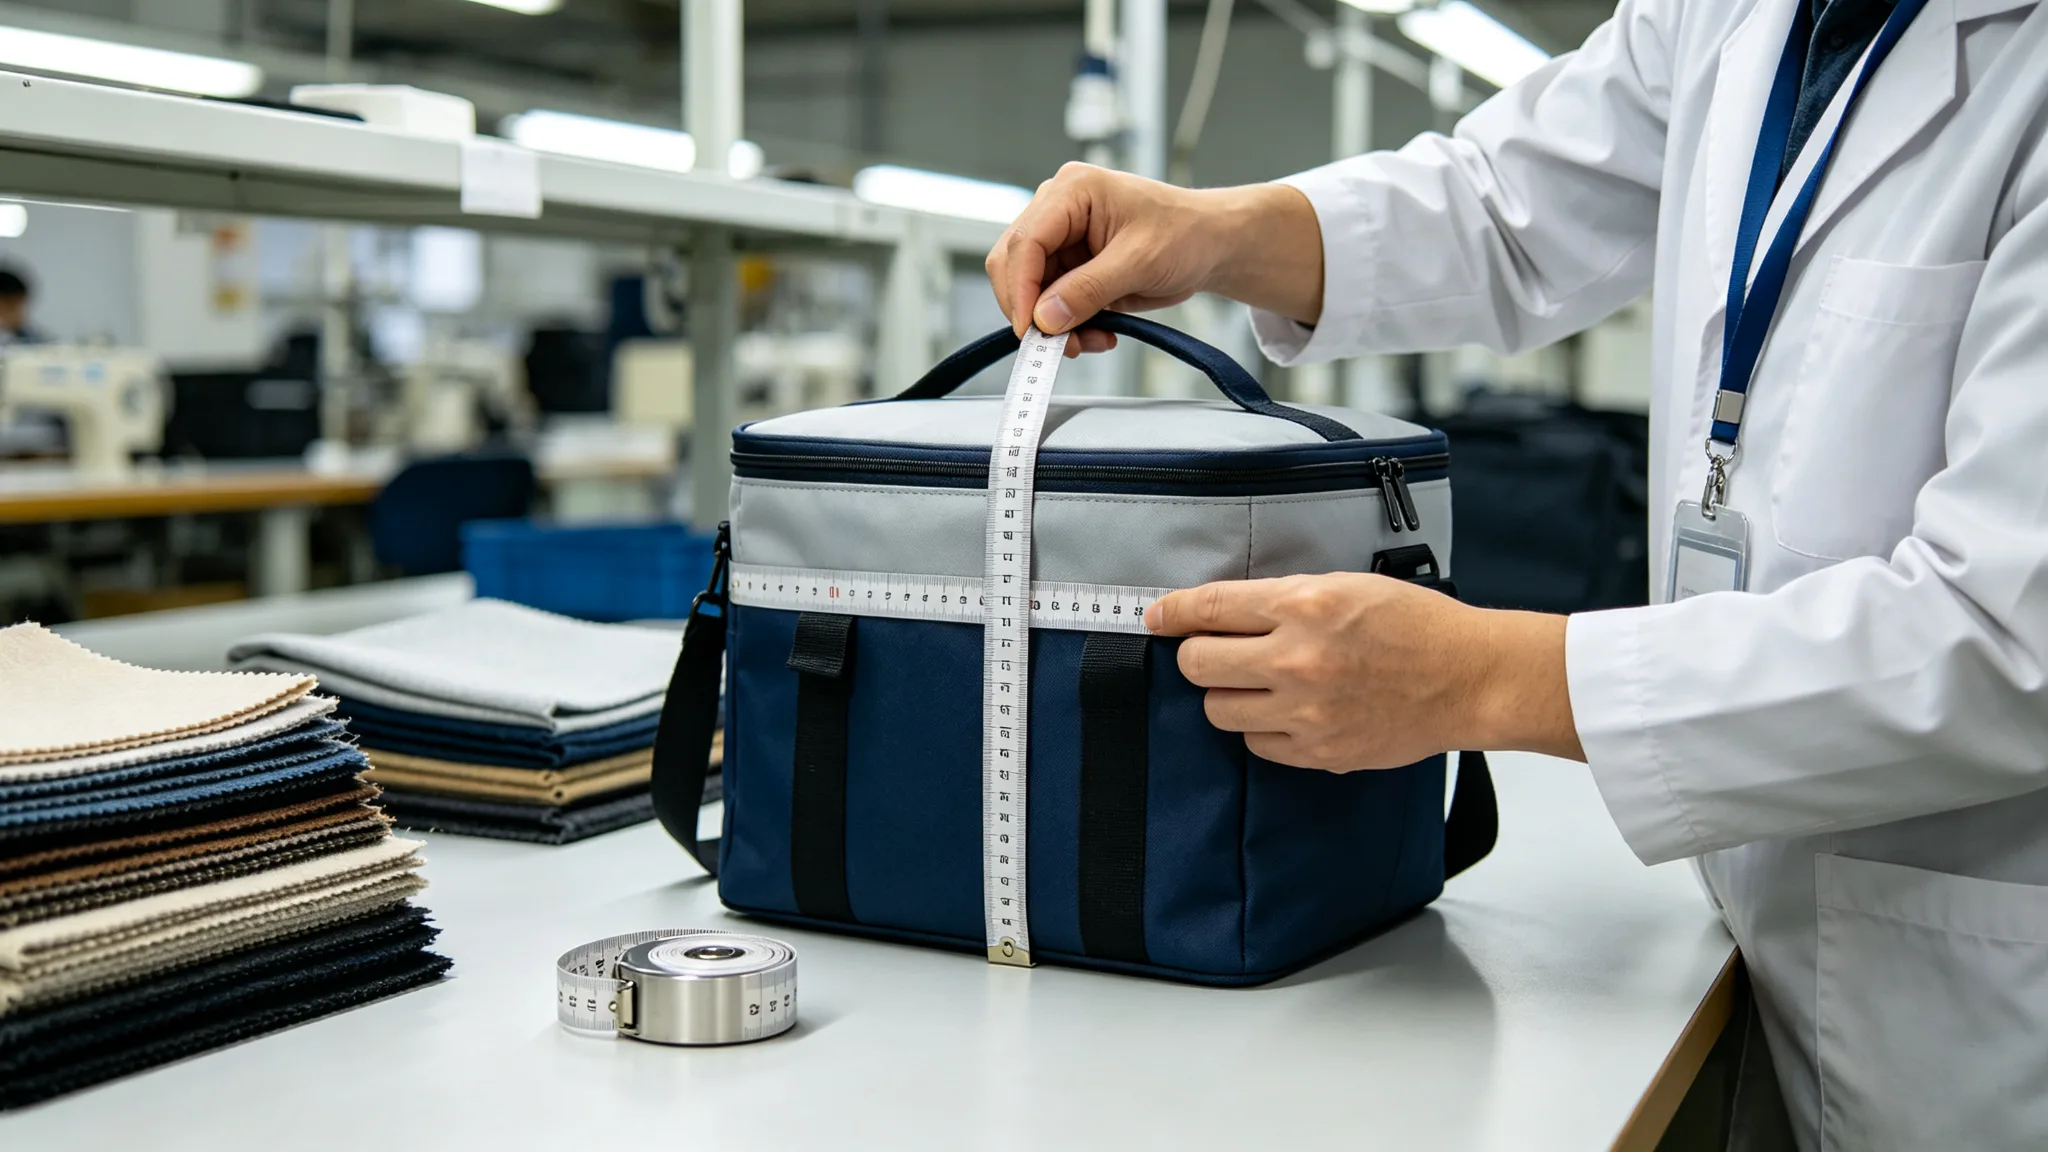
Thermal Retention Test: The One Buyers Actually Feel
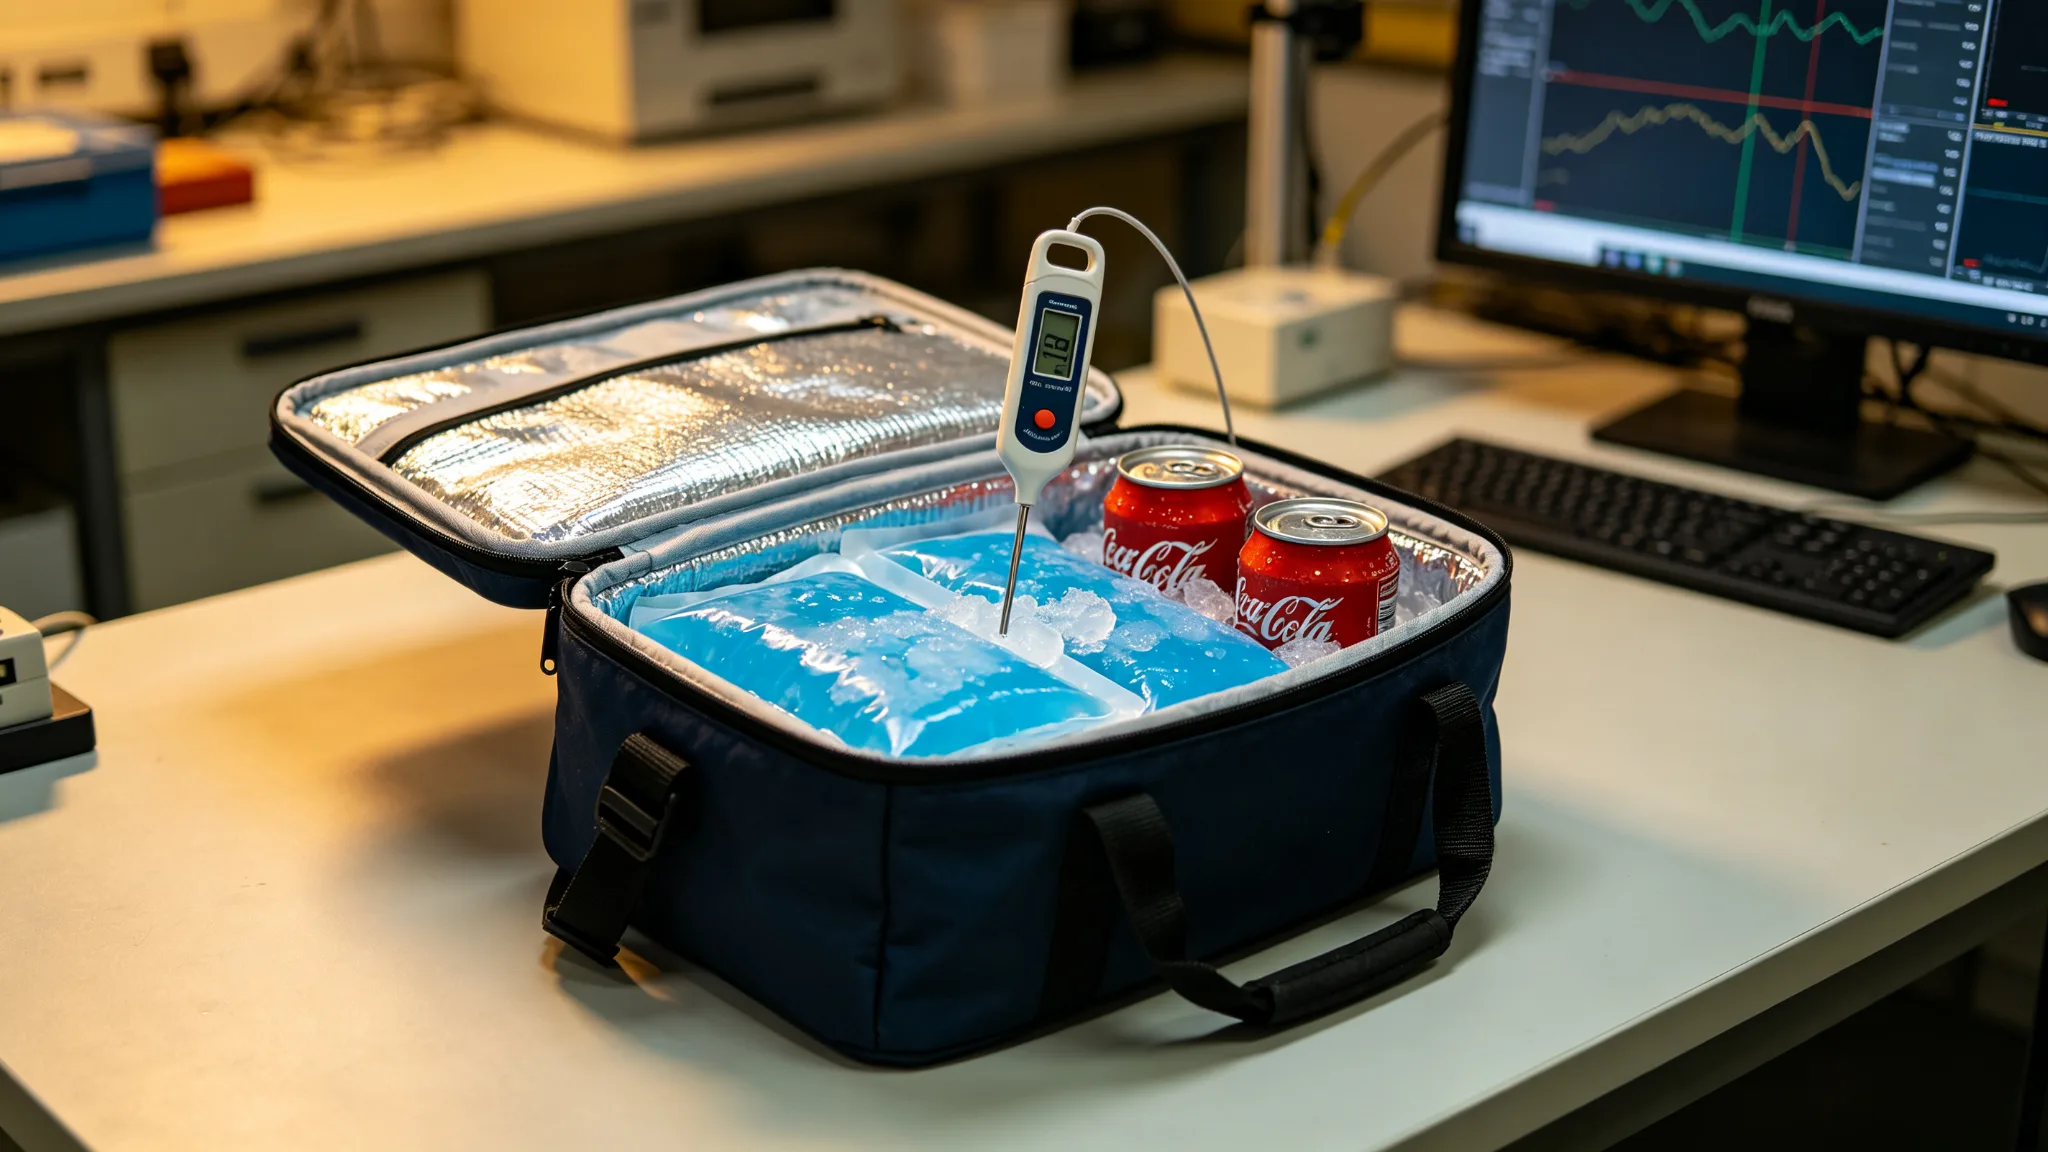
Thermal retention is the headline claim on every cooler bag listing, so it is the first test we run. We define the conditions once and repeat them for every sample, otherwise the numbers are meaningless. There are five variables that decide the result, and each one has to be written down on the sample sheet:
- Ambient temperature: we test at a controlled 30°C room in summer; a buyer in a 20°C office will get slower warming, and a buyer in a hot car will get faster. Always state the room temperature.
- Test duration: we read for six hours because that matches a workday lunch plus a commute. Twelve-hour and 24-hour claims need a bigger ice charge and a longer test.
- Charge: two gel ice packs plus four pre-chilled 330 ml drinks is our standard for a roughly 10 L lunch cooler. More ice makes a better curve; less ice makes a worse one. The charge has to match how the customer will actually pack it.
- Probe position: the sensor goes in the centre of the load, mid-height, not touching the ice packs, the drinks, or the liner wall. A probe on the wall reads warm early; a probe inside an ice pack reads cold forever.
- Recording: read and write the temperature at 0, 2, 4, and 6 hours. A digital data logger logs it for us; on a manual sample we take a photo of the display at each hour.
Here is a real run from a standard 10 L lunch cooler sample, 30°C ambient, two gel packs plus four chilled drinks, probe at centre:
| Time (hours) | Internal centre temperature | What it means |
|---|---|---|
| 0 (start) | 4.0°C | Drinks and ice loaded cold, bag closed |
| 2 | 7.5°C | Still inside food-safe chilled range |
| 4 | 11.0°C | Warming, but drinks still feel cool |
| 6 | 14.5°C | Past safe chilled range for raw food; fine for picnics |
Read this curve before you repeat it on your listing. This build keeps contents below 8°C for about 2.5 hours and below 15°C for about six hours. If your product claim is "keeps food cold for 12 hours," this exact sample fails and the fix is not marketing - it is more closed-cell EPE foam (from around 3 mm to 5-8 mm), a better sealed zipper, or a larger ice charge. If your use is insulin, breast milk, or vaccines, the window matters more and we spec a different build entirely - see our insulin and breast-milk cooler case for that tighter tolerance.
A number buyers should memorise
A 3 mm EPE + PEVA lunch cooler at 30°C ambient will gain about 2-3°C in the first two hours, then roughly 1.5°C per hour after that. If a supplier promises 12 hours cold on a thin-bag photo, ask for the hourly table, not the promise.
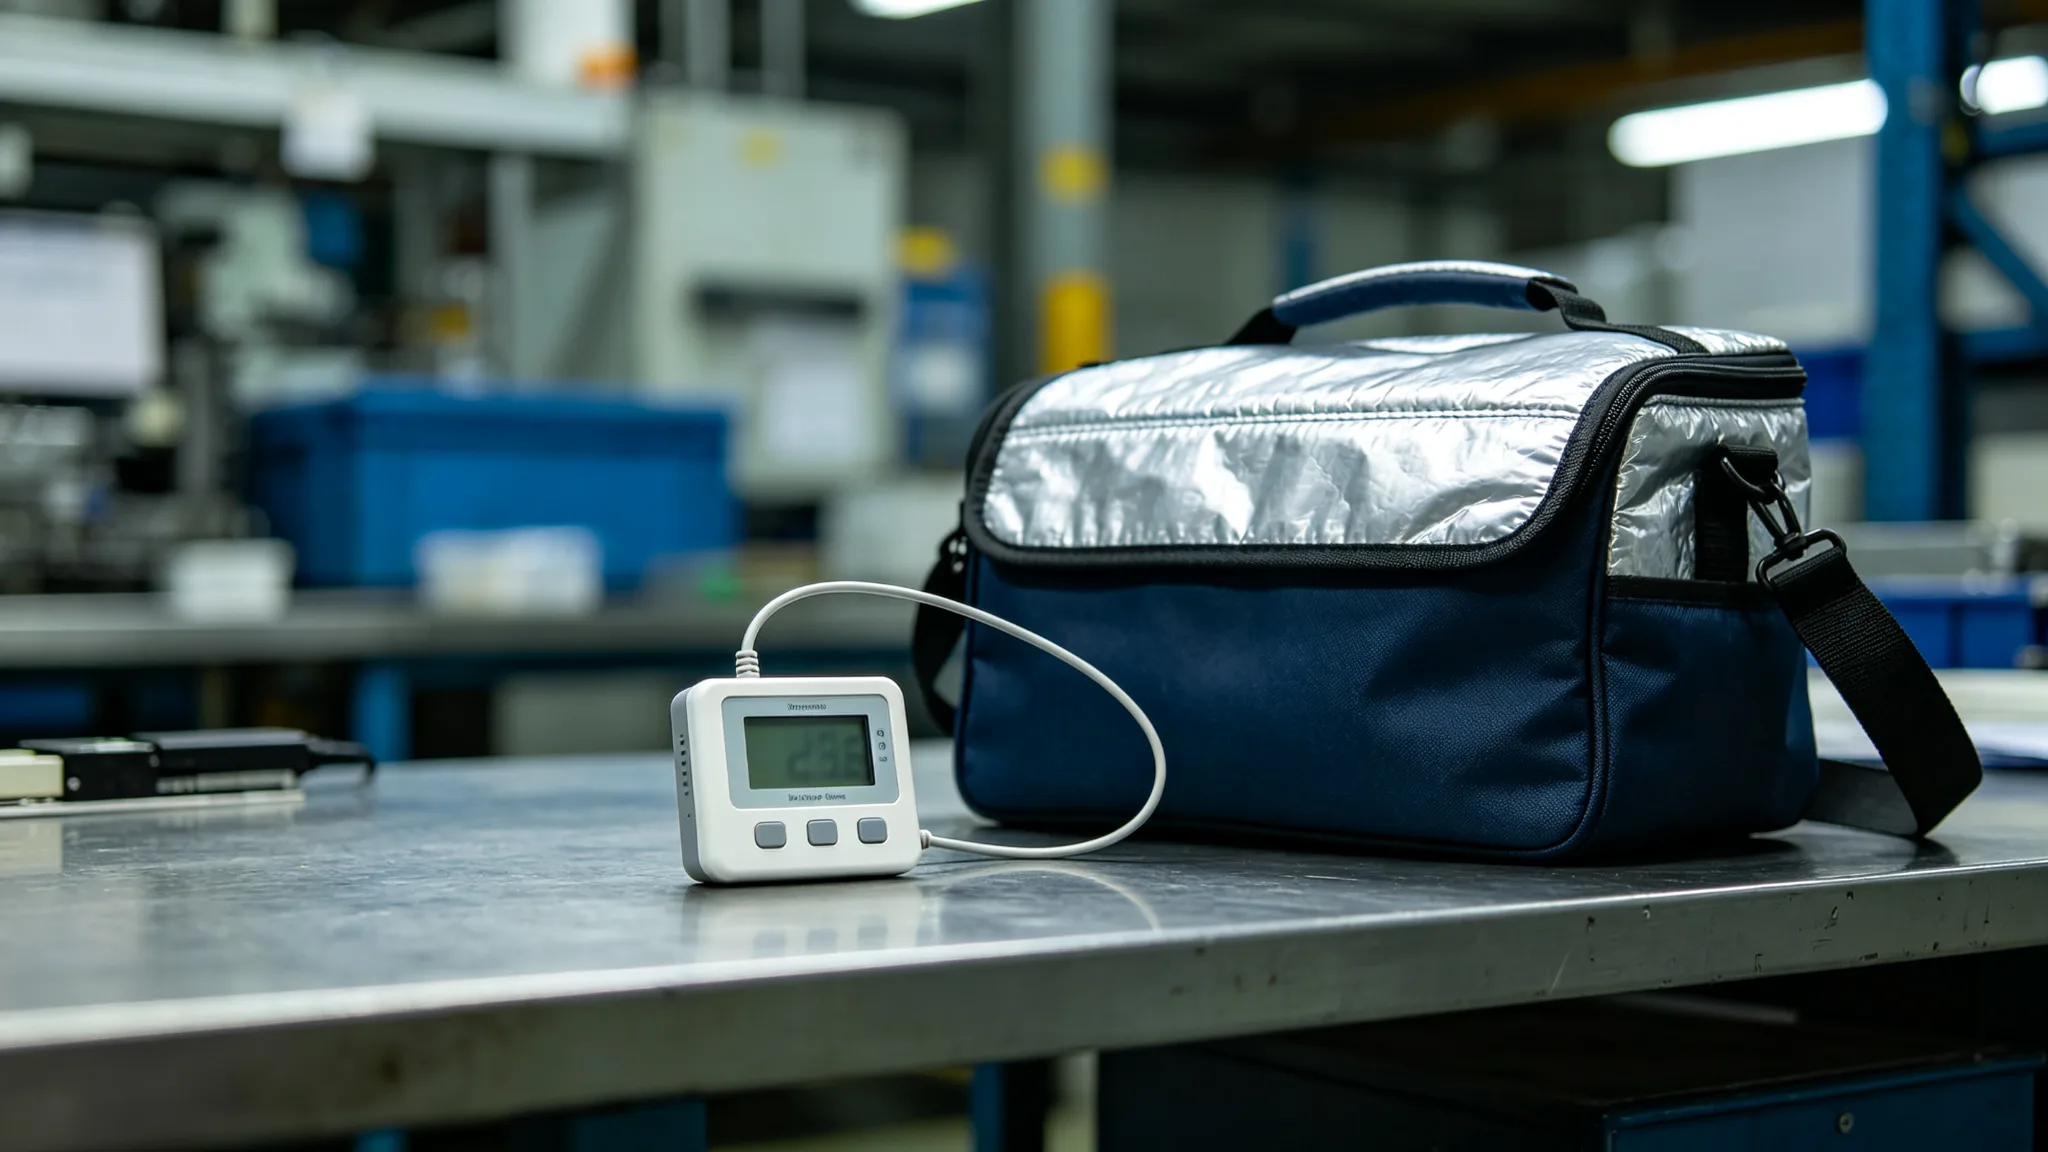
Inner Liner Leak Test: Where Cooler Bags Actually Fail
Leaks are the most common cooler bag complaint after "it is not cold enough," and they are the easiest to prevent at sample stage. The inner liner is usually PEVA (budget, soft, food-contact feel) or TPU (tougher, higher price point, welded cleanly). Both must hold water, and the seam method decides whether they do. There are three ways liner pieces are joined, and they are not equal:
- Sewn only (cheapest): needle holes pass right through the PEVA. It holds gel packs fine but weeps under liquid. We do not accept sewn-only liners for any bag that will carry ice directly.
- Sewn + taped seam: a heat-applied tape covers the stitch line. This is the standard build for most lunch coolers and passes the water test if the tape bonds fully.
- High-frequency (HF) welded: the liner material is fused at the seam rather than sewn. Strongest option, used for TPU and for premium PEVA bags; no needle holes at all.
The common leak points are not random. They are the rounded bottom corners, the edge of the zipper tape, and where the liner wraps around a handle reinforcement patch. That is exactly where the test looks: we fill the liner about two-thirds full of water, close the zipper, rest the bag on dry blotting paper, and tilt it to each corner for about 30 minutes. We also turn the liner inside out and gently stretch the seam. Any damp mark on the paper, any weeping at a stitch line, fails the sample.
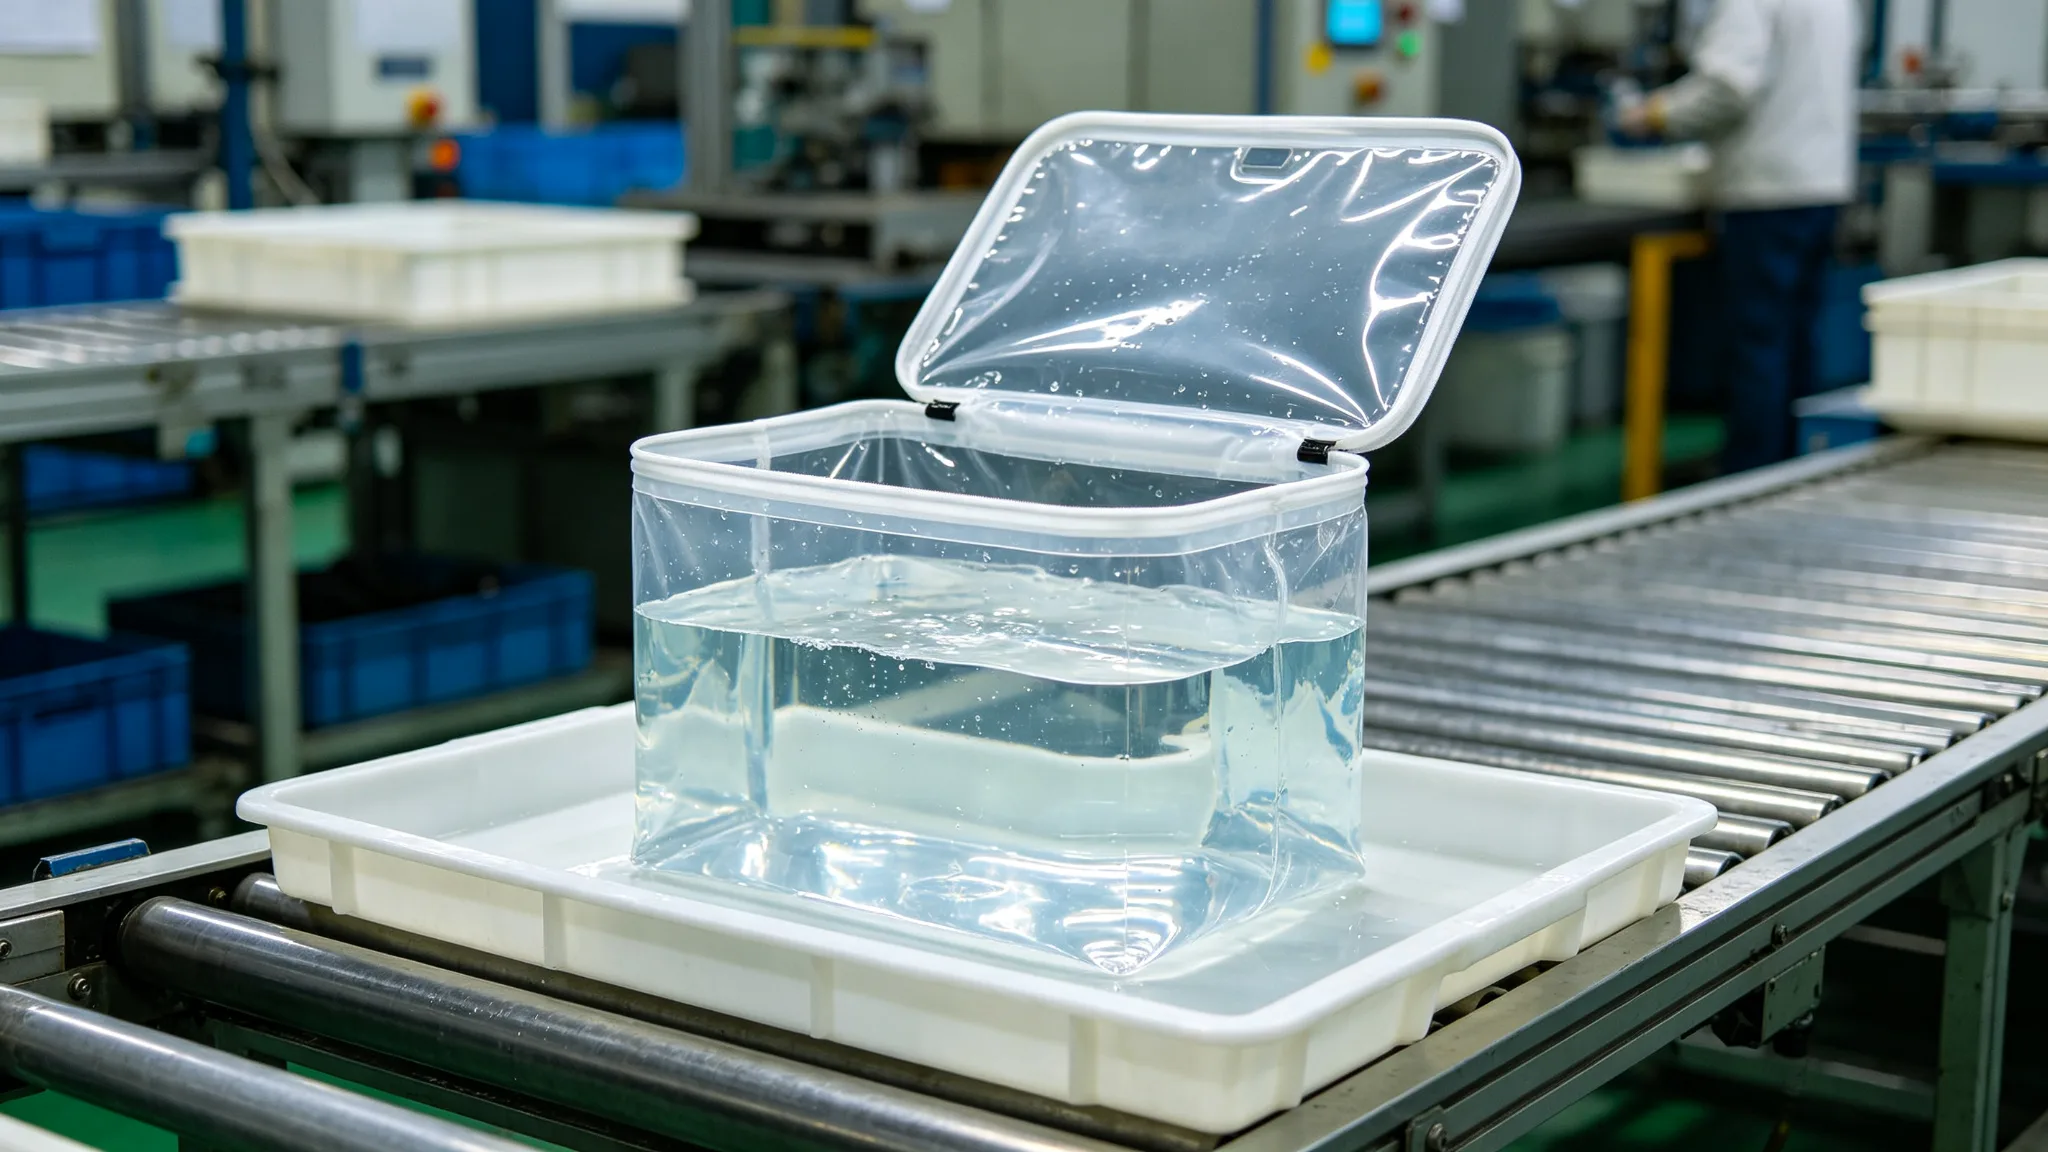
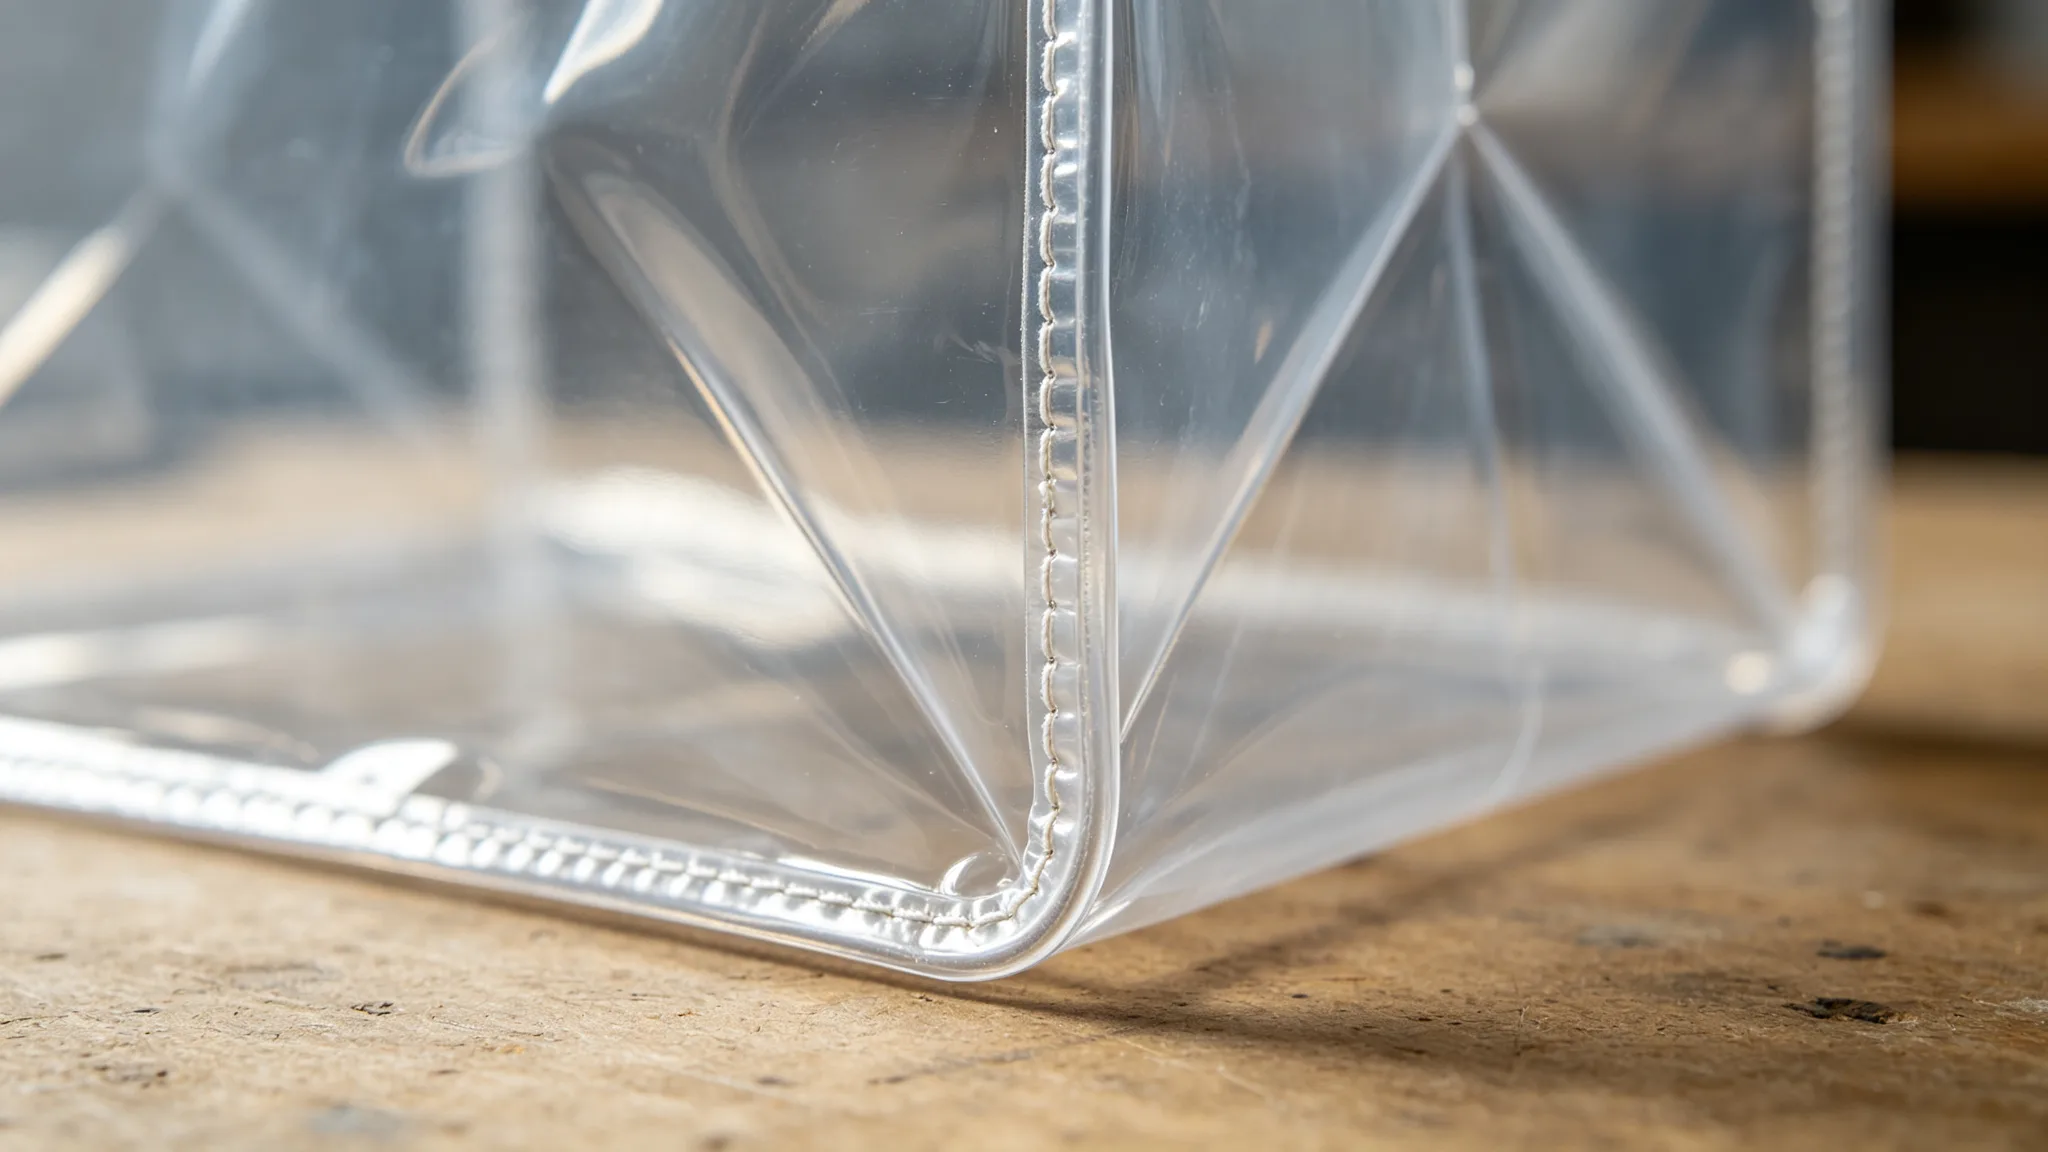
Real failure case from a past run: a sample passed the visual and the flat-water test, but when we tilted it onto the bottom-right corner a 5 mm patch wept. The HF weld had skipped that small spot on the welding die. We did not ship a "minor fix" note; we re-welded the whole liner tooling and re-tested two more units. Catching that at sample stage cost us one sample round; catching it in 5,000 units would have been a returns disaster. For material choices across the range, our materials guide explains how PEVA, TPU, and foil liners compare.
Handle and Shoulder-Strap Load Test
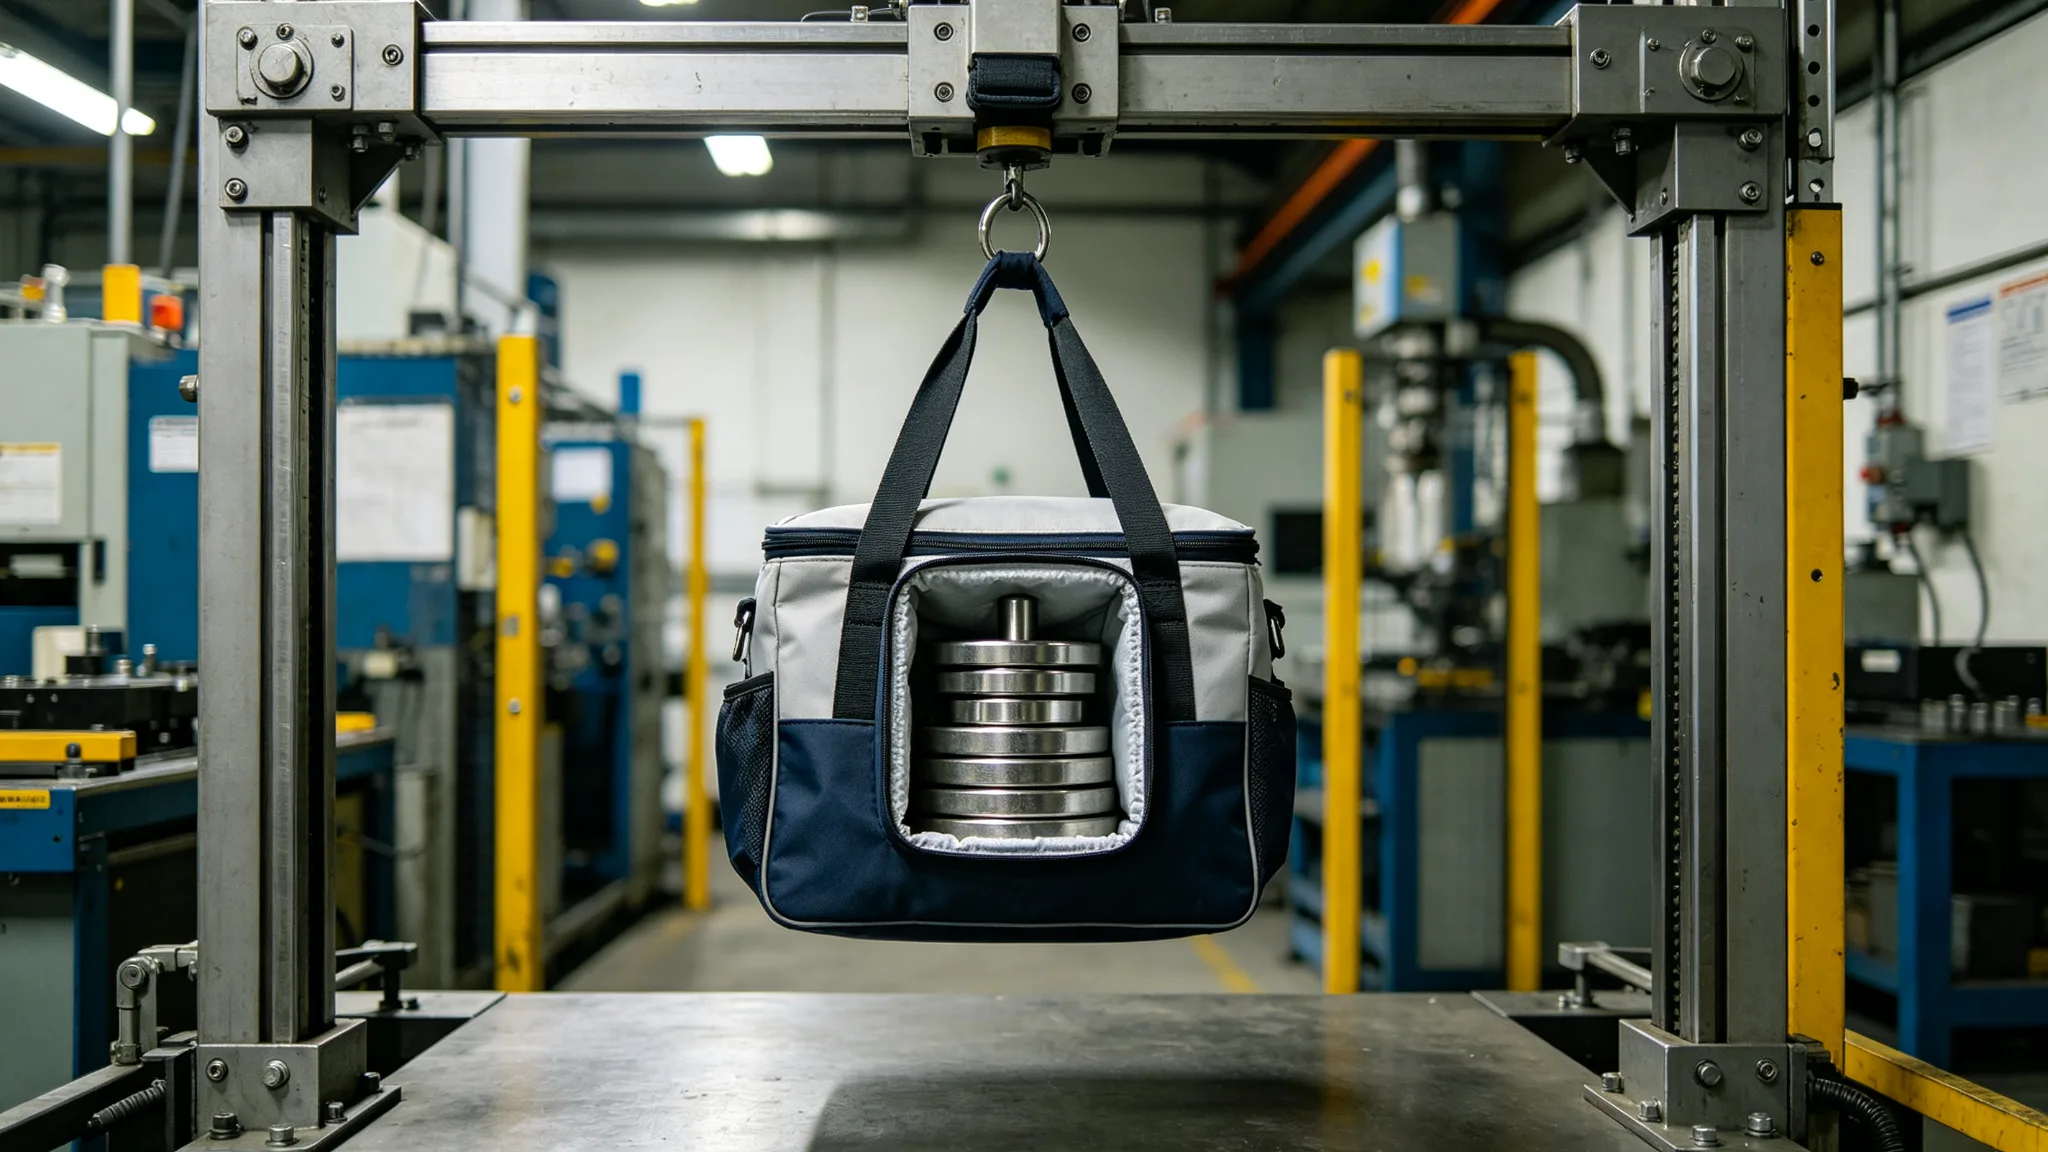
A cooler bag full of cans weighs real money by the time it is on a buyer's shoulder, and handles are the second-most-failed part after the liner. We load the bag to its rated capacity - commonly 5 kg for a lunch cooler, more for a picnic bag - and hold it by the carry handle at chest height for five minutes. For shoulder bags, we hang the bag at double the rated load, around 10 kg, from a frame for ten minutes. Acceptance is concrete: no torn stitching, no pulled webbing, no stretched or popped bar-tacks, and no visible elongation at the handle join.
The classic failure is a handle stitched only to the inner liner or to a facing that is not load-bearing. The lining tears out, the handle goes floppy, and the customer blames "cheap quality." We spec every handle bar-tack to pass through the outer 600D or 900D shell with a reinforcing patch underneath, so the load goes into the bag body, not into a lining. This is the kind of detail that costs almost nothing in tooling but decides whether the bag survives a year of commuting.
Loaded Drop Test
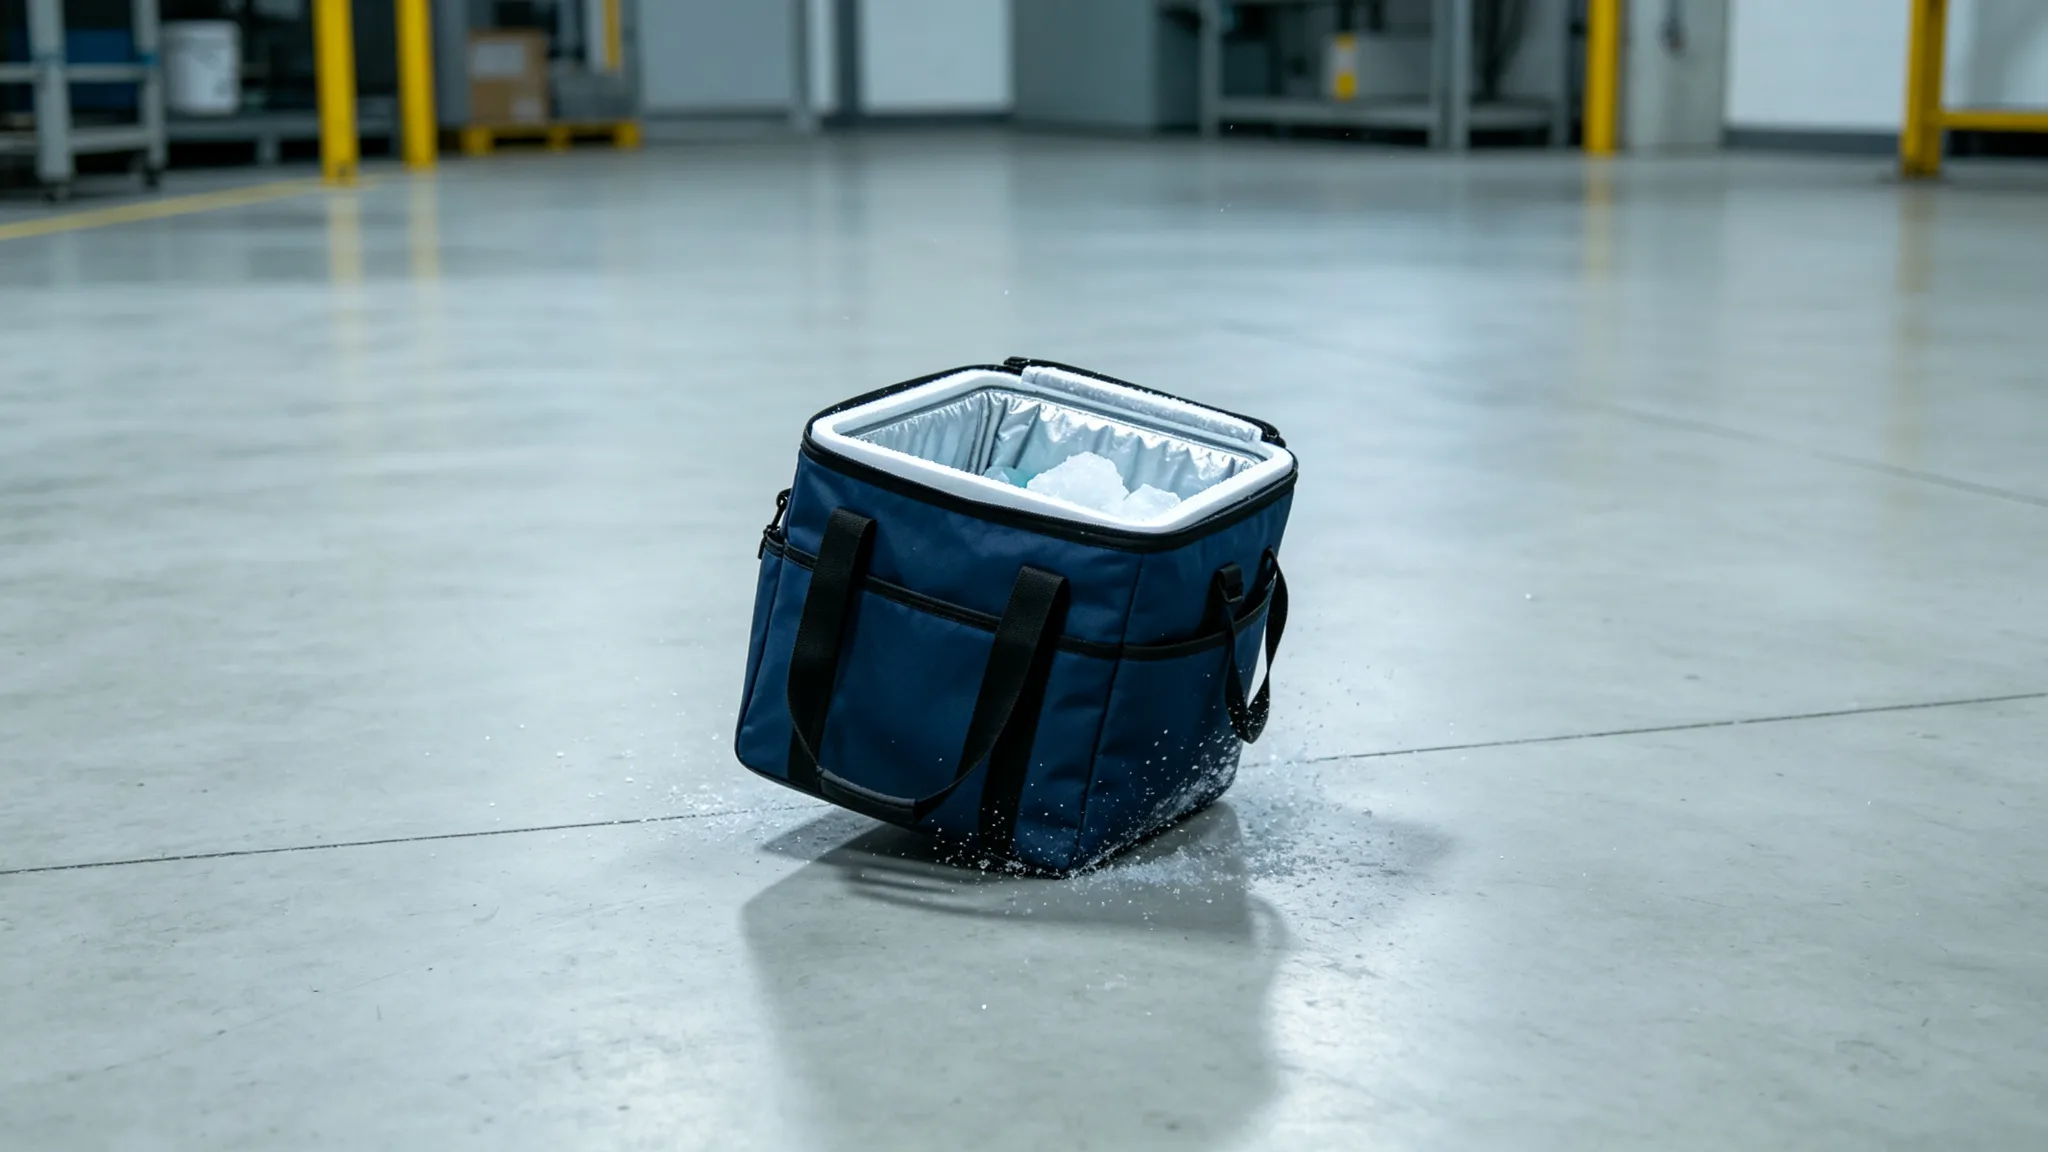
A bag that only works on a shelf is not a bag. We fill it to rated weight, close it, and drop it from standing height - about 0.9 m or 3 ft - onto a concrete or wooden floor. First flat onto the bottom, then once or twice onto a corner, repeated three times. After the drops we check four things: the zipper still opens and closes, the liner has not split, the handles and strap remain attached, and no contents have breached.
This is not a violent abuse test. It is the real world: a cooler bag gets lifted off a picnic cart, dropped from a bike basket, tossed onto an airport trolley, or set down hard out of a car. A sample that cracks its liner or pops a zipper on the first corner drop will do the same in the customer's hands within a month. For a larger picnic or family cooler, the large-capacity picnic cooler uses the same drop test but at the heavier rated weight.
Zipper Cycle and Open/Close Test
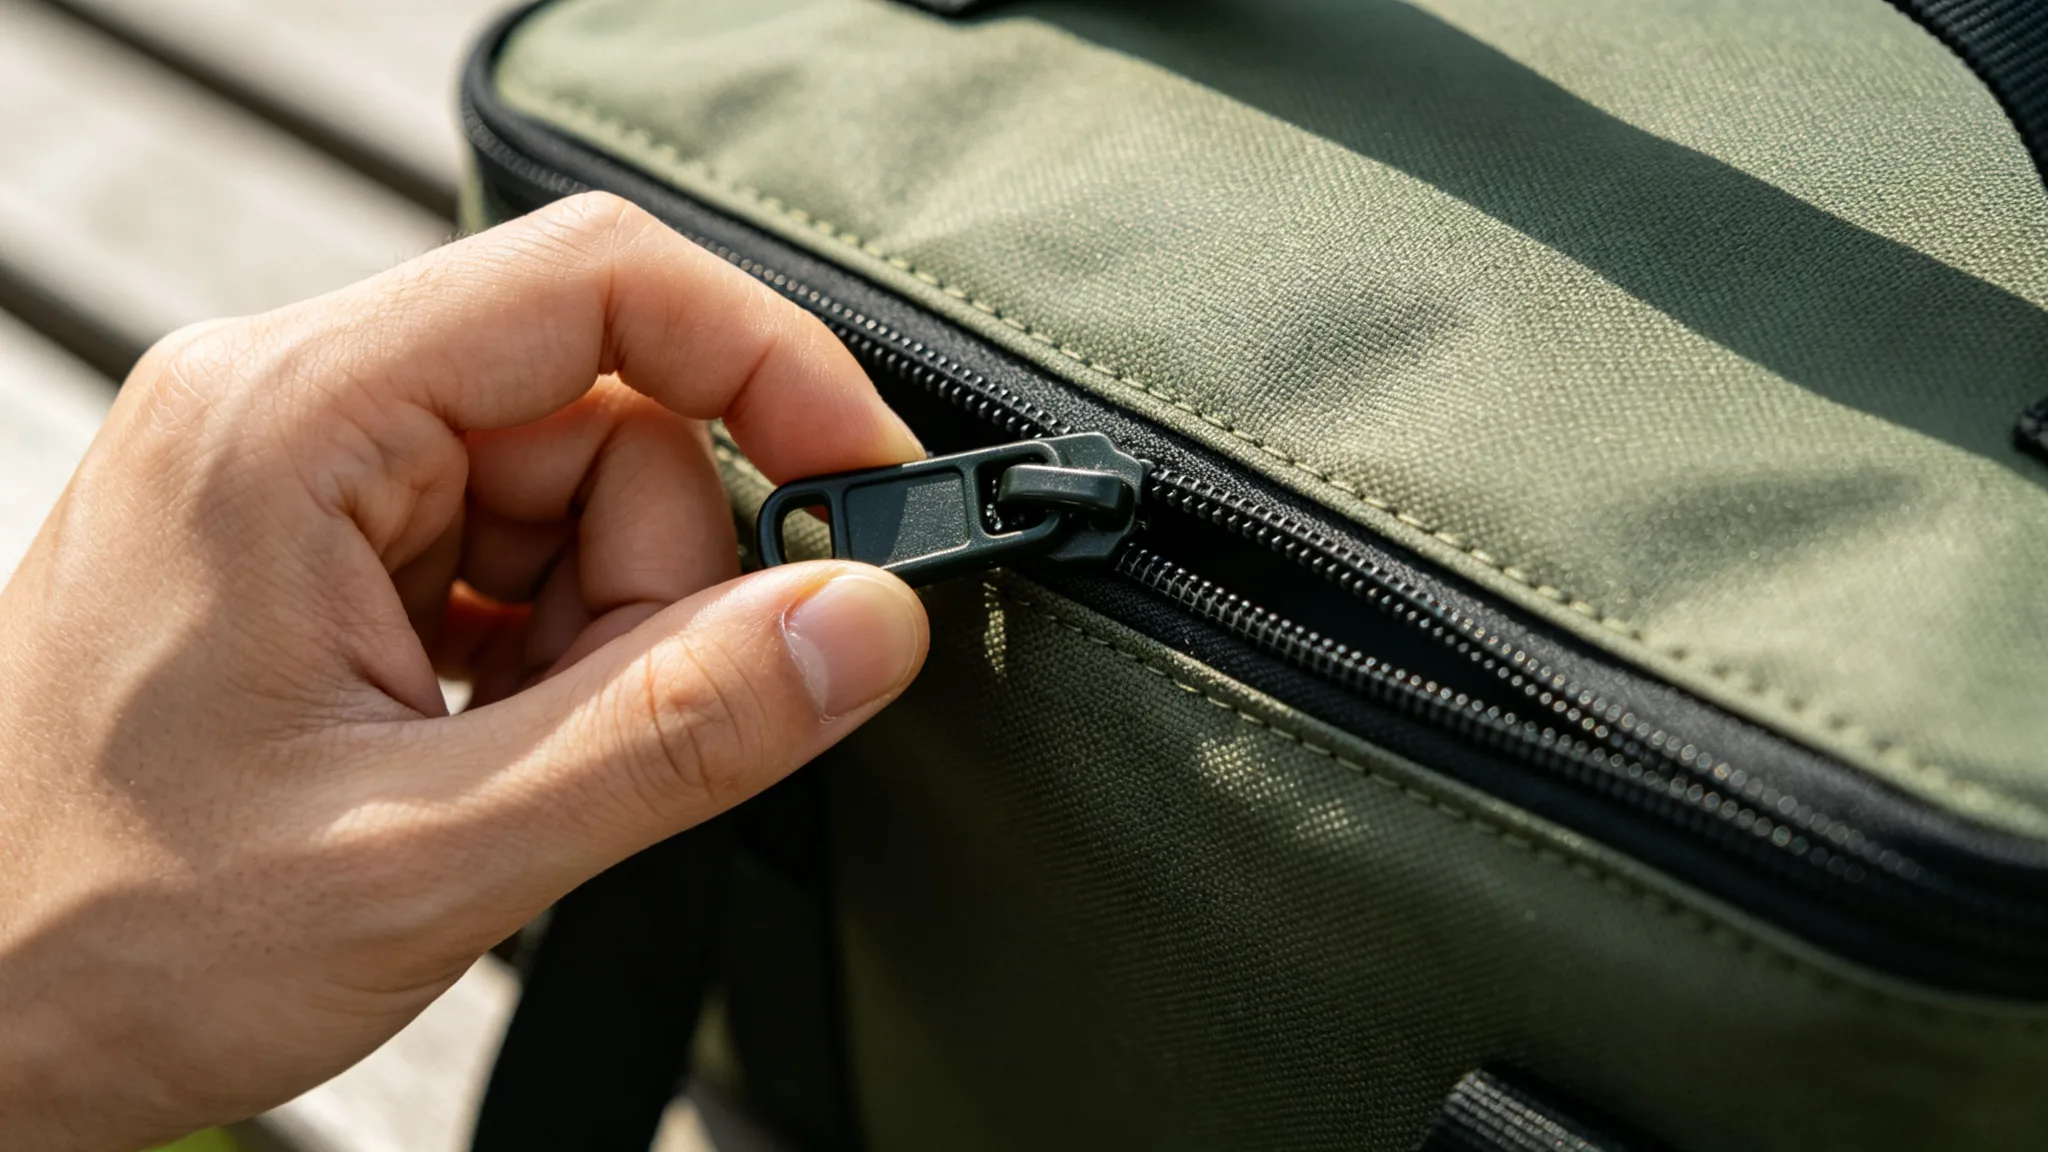
The zipper is the seal. If it self-opens under load or jumps teeth after a few weeks, warm air gets in and cold gets out. We cycle the sample zipper open and shut 200 to 500 times by hand and check three things: the slider does not jump off the teeth, the zipper does not unzip itself when the bag is loaded and tilted, and (where a waterproof zipper is specified) the taped zipper tape still seals. For bags over 10 L we spec a standard YKK-style zipper; saving cents here is the reason cheap coolers fail first.
Watch the ends. A zipper that stops short at the corners leaves a small gap where the liner breathes and moisture escapes. The thermal test above hides this slowly - the bag still cools, just not as long. Running the cycle test and inspecting the zipper ends catches it before it becomes a "the insulation is not as good as the sample" complaint.
Odor, Cleaning, and Food-Contact Paperwork
The last three checks are about what the bag touches, not what it survives. Fresh PEVA has a faint plastic smell when it comes off the line; we ventilate samples for 48 hours before packing them into a polybag, and we tell buyers to air the first production run before loading food. The inner should wipe clean with a damp cloth - a bag that stains or holds odour after one salad lunch will get returned.
On food contact, be clear about what you are actually claiming. We can supply the liner material composition and, on request, arrange third-party food-contact testing for the destination market. But we will not write "FDA approved" or "food safe certified" on a listing unless that exact report exists. If the bag is for babies, insulin, or direct food contact into the US or EU, tell us the country and the regulation you are targeting and we will order the matching accredited test - that is a separate, paid step, not a sample-room claim.
Pre-Mass-Production Sample Acceptance Checklist
This is the sheet we sign off with before bulk. Every line is checked on the functional sample, not the photo sample. If anything fails, we fix the tooling and re-test - we do not launch bulk on a "probably fine."
| Check item | Pass criterion | How we check |
|---|---|---|
| Dimensions & capacity | Within 5 mm of spec; volume matches | Tape measure, volume by displacement |
| Colour & logo | Pantone match within tolerance; logo aligned | Under D65 light, compare to approved swatch |
| Thermal retention | Meets agreed 0/2/4/6 h curve | Data logger at centre, standard charge |
| Liner leak | No damp mark at any corner after 30 min | Water-filled, tilted on dry paper |
| Handle & strap load | No tear or stretch at 2x rated load | Hang test 10 min |
| Loaded drop | Zipper works, liner intact, handles on | 3 drops from ~0.9 m |
| Zipper cycle | 200-500 cycles, no jump, no self-open | Hand cycling, loaded tilt |
| Odor & surface | No strong residual smell; wipes clean | 48 h ventilate, damp-cloth wipe |
| Paperwork | Material spec + food-contact report if required | Files attached to sample report |
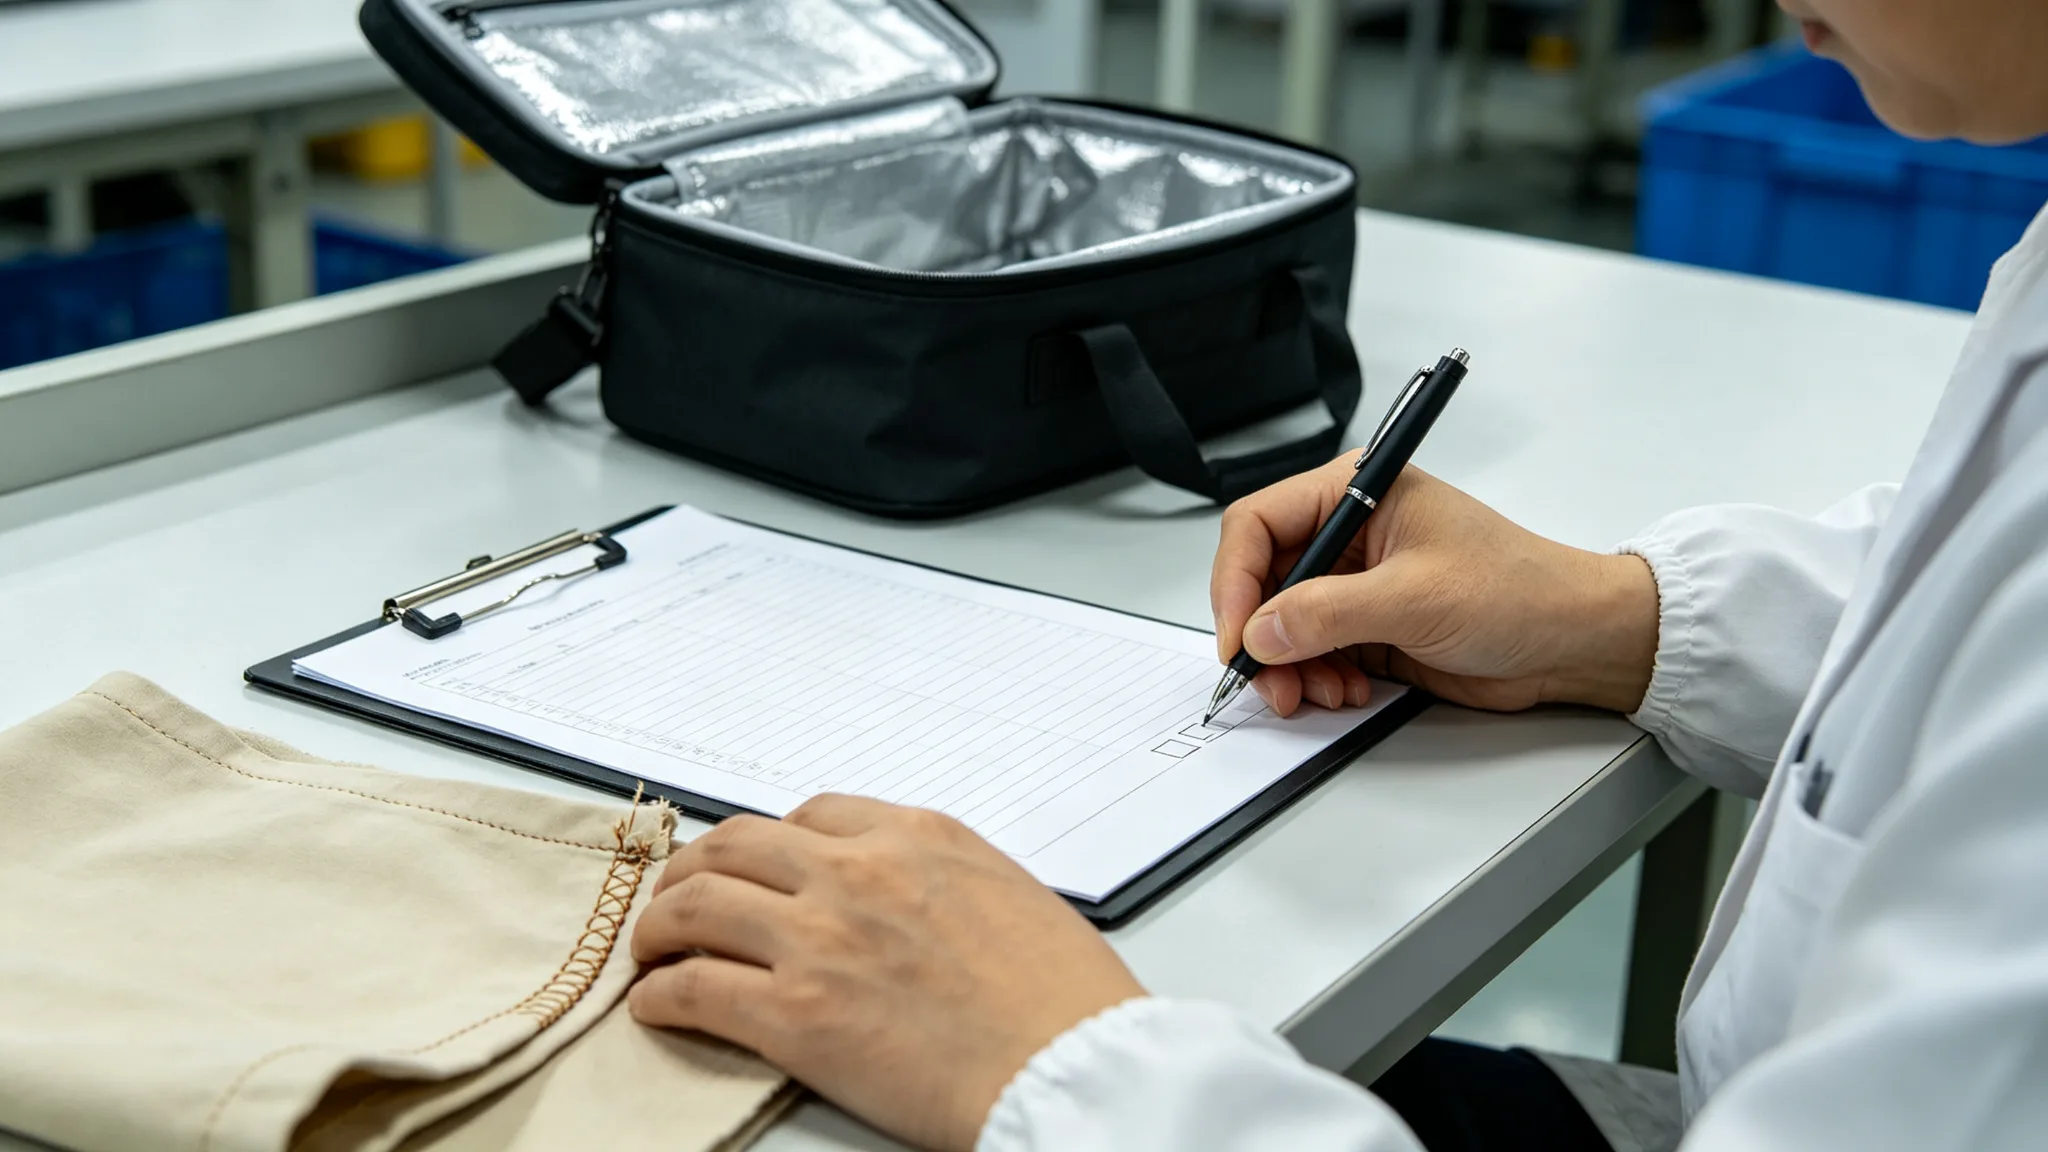
For the full side of approving a sample before bulk - measurement, packaging, labels, and artwork - our sample approval checklist pairs with this one. You can also see the custom bag process we follow from tech pack to shipment.
Common Failure Cases and How We Fix Them
After years of sample rounds, the same failures come back. Here is what we see and what changes:
- Leak at the bottom corner: usually a skipped HF weld or a taped seam that did not bond. Fix: re-weld or switch to HF, widen the weld to at least 5 mm.
- "It is not as cold as the sample": either the bulk used thinner EPE than the sample, or the buyer packs less ice. Fix: lock the foam thickness in the spec sheet and put the charge in the user instructions.
- Zipper self-opens loaded: cheap slider or too short a zipper. Fix: upgrade the zipper brand/spec and check the zipper reaches the corners.
- Handle tears out: bar-tacks only through the lining. Fix: bar-tack through the outer shell with a reinforcing patch; this is a tooling change, not a material one.
- Strong plastic smell on arrival: bags packed too hot out of the line. Fix: ventilate before polybagging and ask for a cooler packing temperature in summer.
You can browse the builds these tests are applied to in our cooler bag range - from the insulated standard cooler to the double-layer insulated cooler, each one starts life through the same sample test stage.
Frequently Asked Questions
How do you test whether a custom cooler bag actually keeps contents cold?
We run a thermal retention test on a sealed sample. In our 30°C sample room we load a standard charge (two gel ice packs plus four pre-chilled drinks), place a temperature probe at the centre of the bag, and record the internal temperature every hour for six hours. A well-built 10 L lunch cooler typically moves from about 4°C to roughly 14 to 15°C over six hours, which keeps contents below 8°C for around 2.5 hours and below 15°C for about six. If you need a longer hold, we increase the foam thickness or the ice charge - the sample tells us which.
Why do cooler bags leak at the seams, and how is it prevented?
Leaks almost always start at the rounded corners, the zipper tape edge, or where the liner meets a handle reinforcement. PEVA sewn only has needle holes that weep; sewn-and-taped is better; high-frequency welded liner joins are the most reliable. We fill the liner two-thirds with water, seal the zipper, rest the bag on dry paper, and tilt it to each corner for about 30 minutes. Any damp spot fails the sample.
How much weight should cooler bag handles and straps hold?
We load the bag to its rated capacity (commonly 5 kg for a lunch cooler) and hold it by the handle at chest height for five minutes. For shoulder bags we hang the bag at double the rated load, about 10 kg, for ten minutes. Acceptance is simple: no torn stitching, no pulled webbing, no stretched bar-tacks. Handles must be stitched through the outer fabric with a reinforcing patch, not only to the inner lining.
What is a realistic drop test for a loaded cooler bag?
We fill the bag to its rated weight, close it, and drop it from standing height (about 0.9 m or 3 ft) onto a concrete or wooden floor - first flat on the bottom, then on a corner, repeated three times. After the drops the zipper must still open and close, the liner must not split, and the handles must remain attached. A cooler bag that survives this travels fine on a bike, a picnic cart, or an airport trolley.
Are these factory tests ASTM or FDA certified?
No. The tests in this guide are our internal factory sample tests, run on the bench to release the first production sample - they are not accredited laboratory results and we do not claim an ASTM number or FDA food-contact compliance unless we hold the actual third-party report. If your market requires a specific standard, tell us the country and the use (including food or breast-milk contact) and we will arrange the matching accredited test before bulk.
Send Us Your Capacity, Hold Time, and Target Market
The fastest way to get a cooler bag spec that works is to tell us three numbers: the capacity you need, the hours of cold you have to promise, and the market you are selling into. From those we build a functional sample, run the five tests above, and send you back the temperature table and the pass/fail sheet - not a marketing render of a bag we have never tested.
Browse our cooler bag manufacturer range for a reference shape, or start from a blank slate through the custom process. To get your sample test, send your brief through the contact form or message us on WhatsApp at +86 151 1275 7120. We will come back within 24 hours with a structure recommendation, a sample plan, and the test setup we will use to release it.
A cooler bag that only passes the look-and-feel check has failed before it leaves the bench. The buyers who never hear "it leaked" or "it was warm by lunch" are the ones who made us run the water test, the drop test, and the six-hour curve before we ever quoted a full container.