Short answer: approve a custom bag sample only after it passes the written specification, a hands-on function test and a documented appearance review. Measure the same reference points the factory will use, test moving parts repeatedly, load the bag as the customer will, and attach every approved change to one revision number. The signed physical sample then becomes the golden sample for bulk production.
A sample can look convincing across a meeting table and still contain expensive ambiguity: a pocket measured from the wrong seam, a logo approved under warm office light, or a handle that feels strong but has no agreed test load. The purpose of sample approval is not to declare a bag “nice.” It is to convert subjective reactions into instructions a cutting, sewing and inspection team can repeat.
Before You Start: Lock the Reference Set
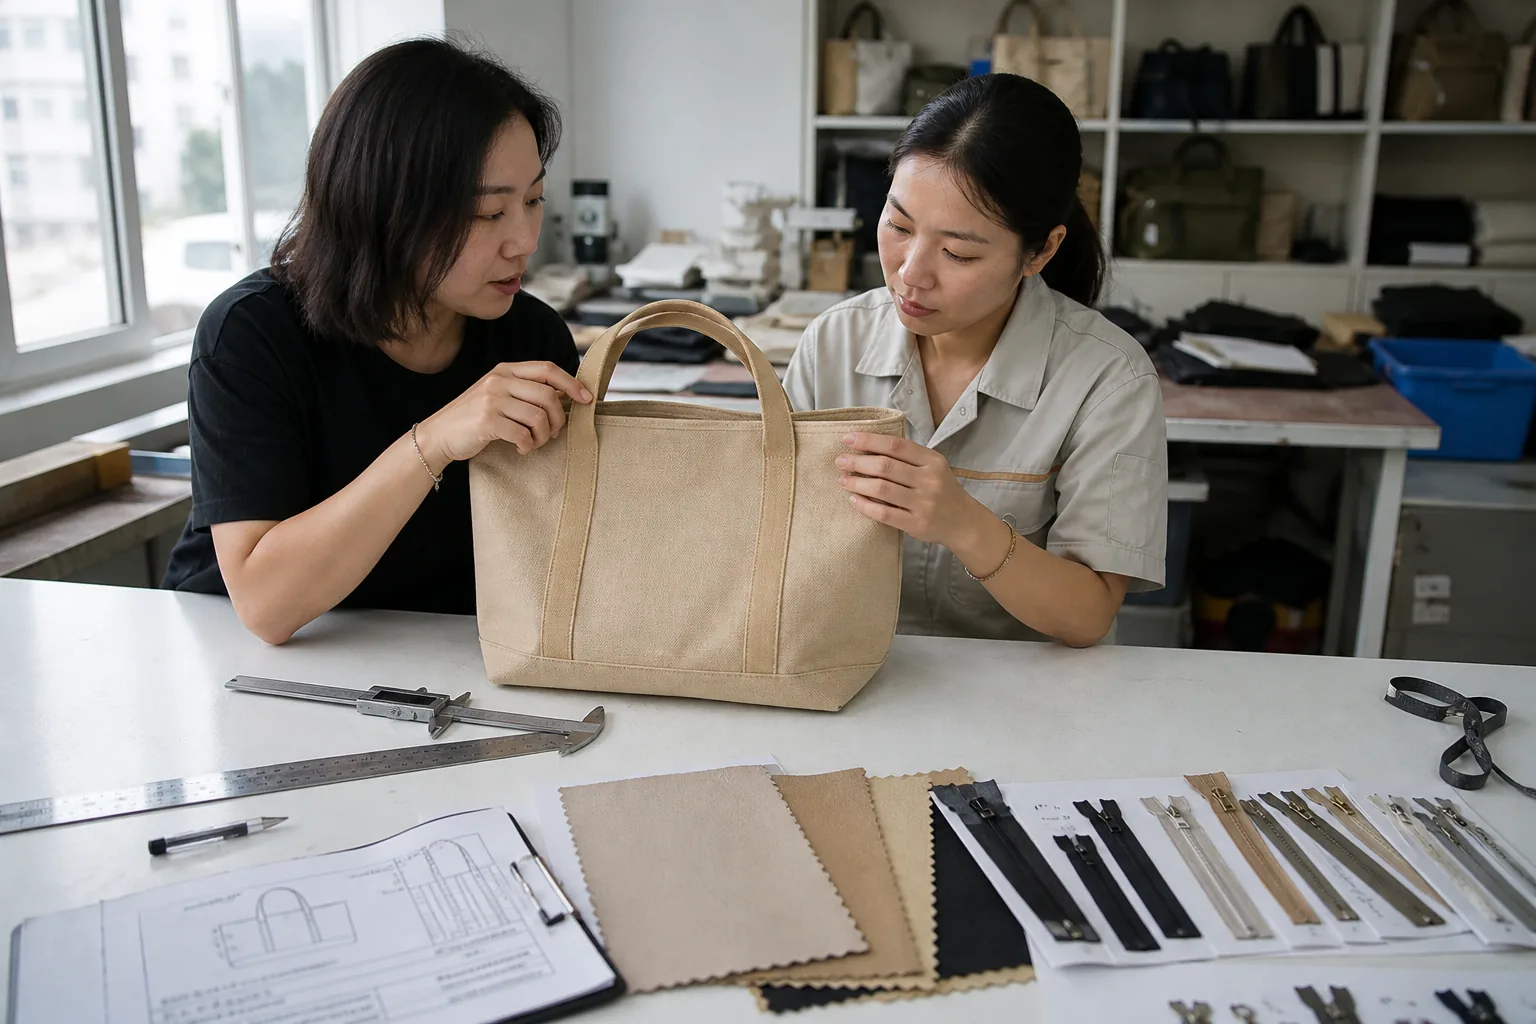
Place five items on the table: the latest tech pack, bill of materials, color and artwork references, packaging specification, and the physical sample. Confirm that every file carries the same revision code. If the factory reviewed Rev C but the buyer opens Rev B, a perfect inspection can still approve the wrong product.
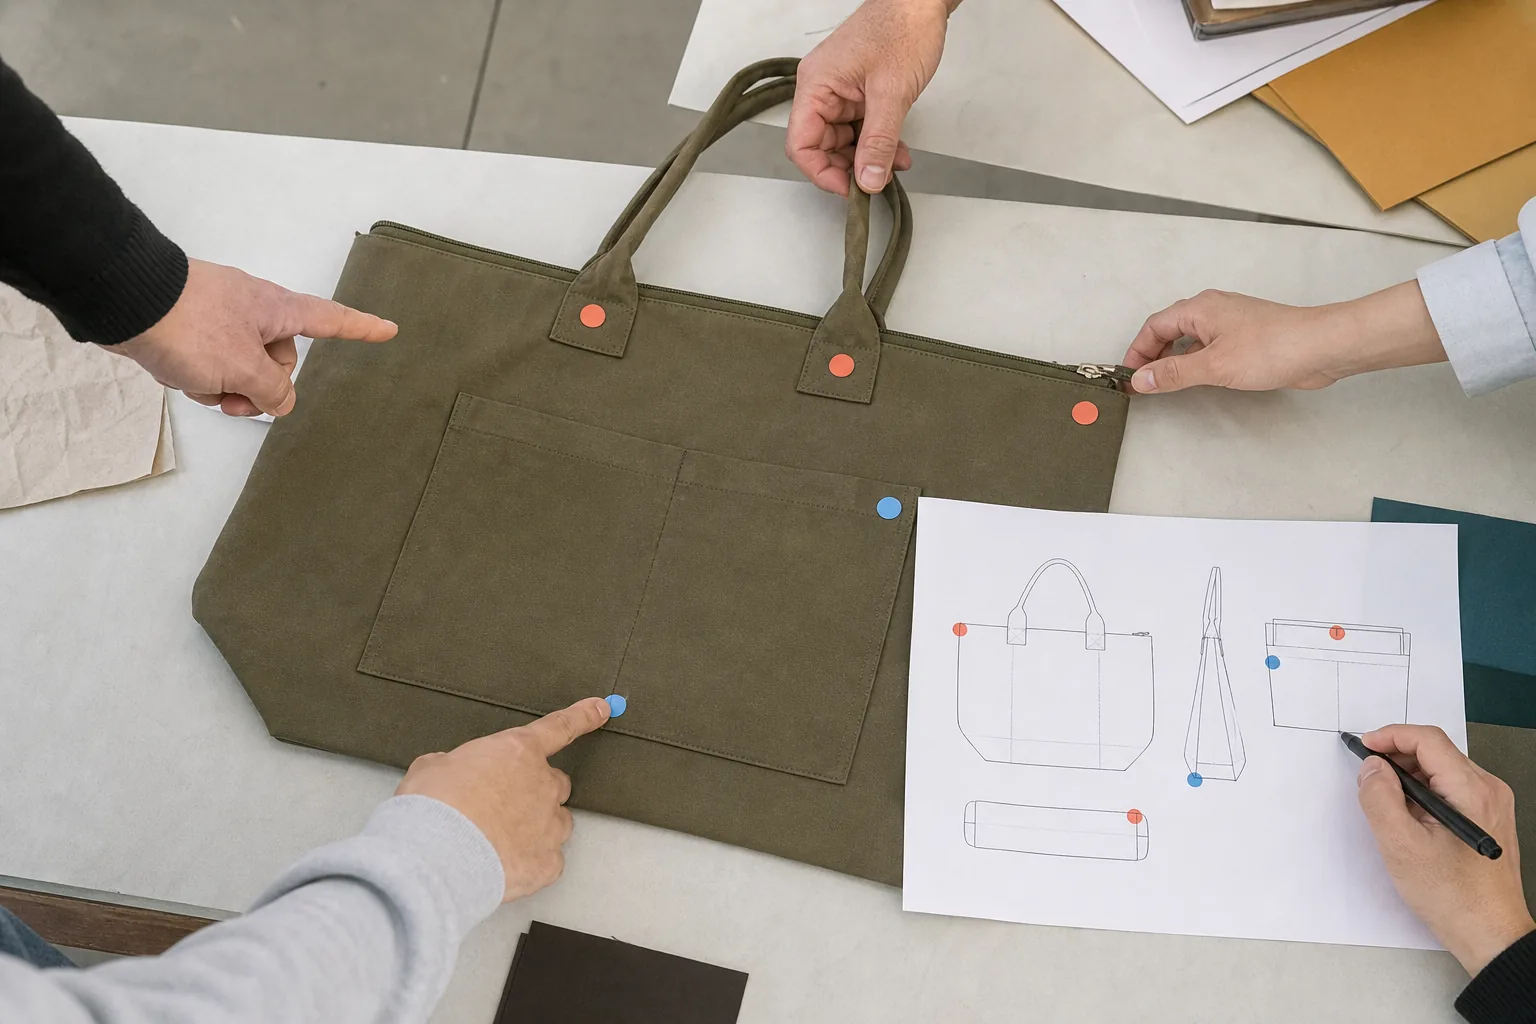
Use a simple result for each check: green means approved as shown; yellow means conditionally approved with one written correction; red means a revised sample or component proof is required. Avoid comments such as “make it better” or “slightly darker.” A production note must state what changes, where, by how much and how acceptance will be verified.
The 12-Point Sample Approval Checklist
1. Overall Dimensions and Measurement Method
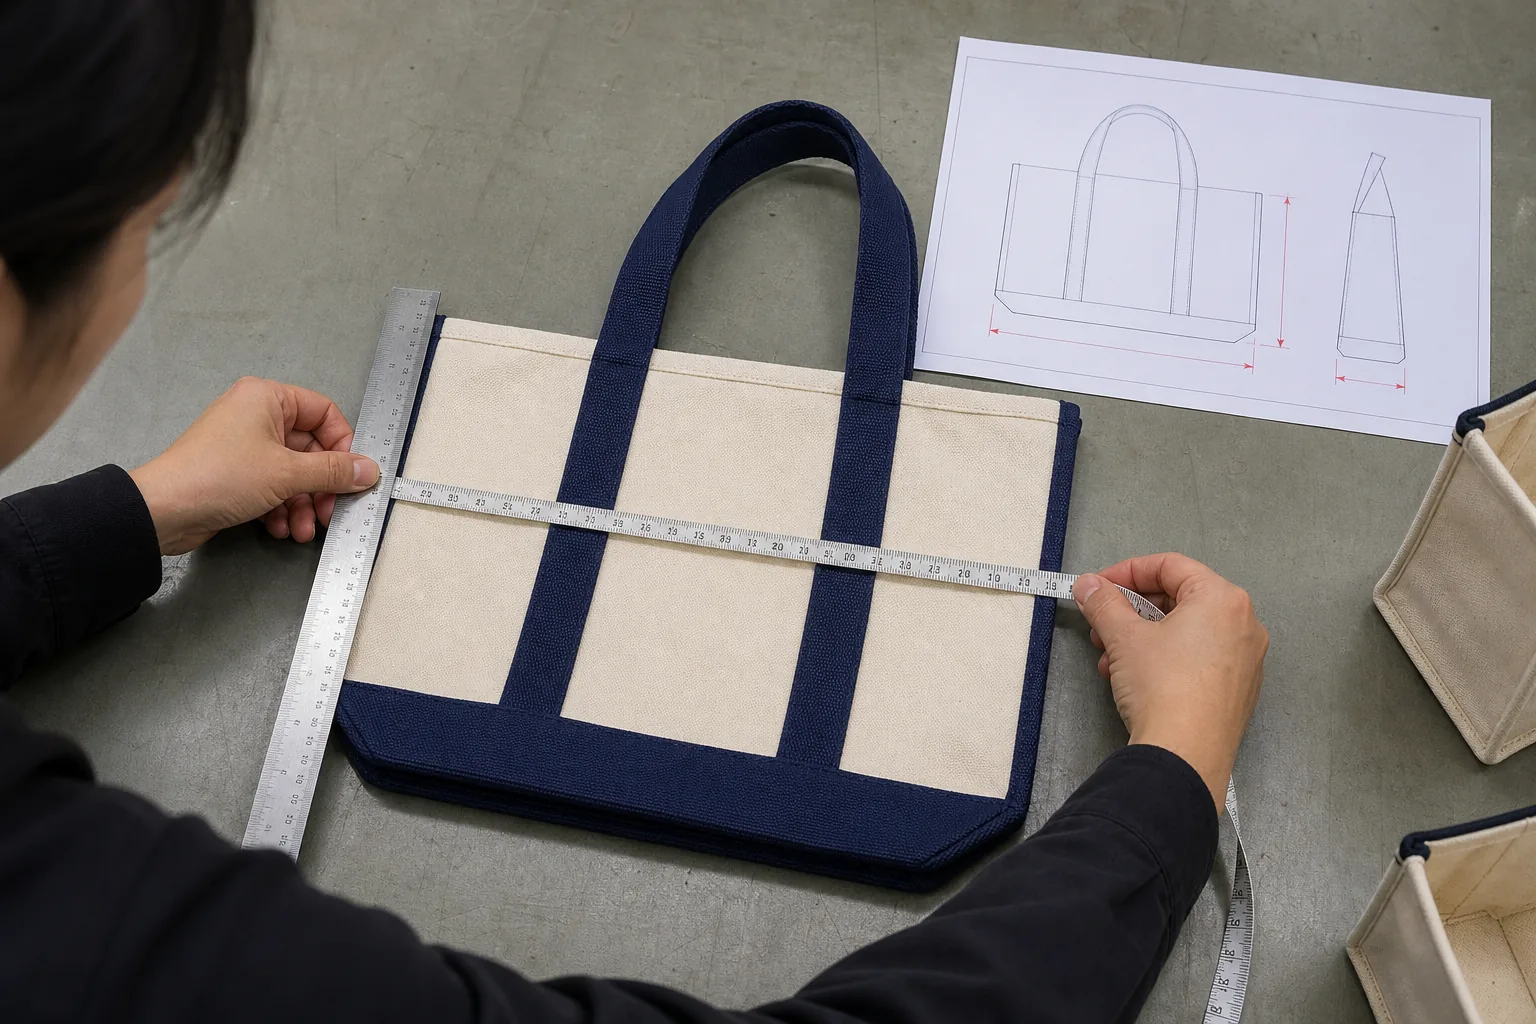
Measure width, height and depth at the exact reference points shown in the tech pack. A soft bag changes shape when empty, so agree whether it is measured flat, lightly filled or held upright. Record the actual result beside the target and tolerance instead of writing only “pass.”
| Feature | Specification | Example tolerance | Decision |
|---|---|---|---|
| Finished width | 400 mm | ±5 mm | Measure flat at top seam |
| Finished height | 350 mm | ±5 mm | Exclude handle drop |
| Gusset | 120 mm | ±4 mm | Open before measuring |
| Handle drop | 260 mm | ±5 mm | Center seam to apex |
2. Material Identity, Hand Feel and Weight
Match the shell, lining, reinforcement and webbing to the bill of materials—not merely to a color name. Confirm fiber content, coating, fabric weight or thickness where relevant. Bend, rub and lightly crease the sample. Excessive coating noise, whitening at folds or a noticeably loose weave can signal a substitution even when the color matches.
3. Color Under Controlled Light
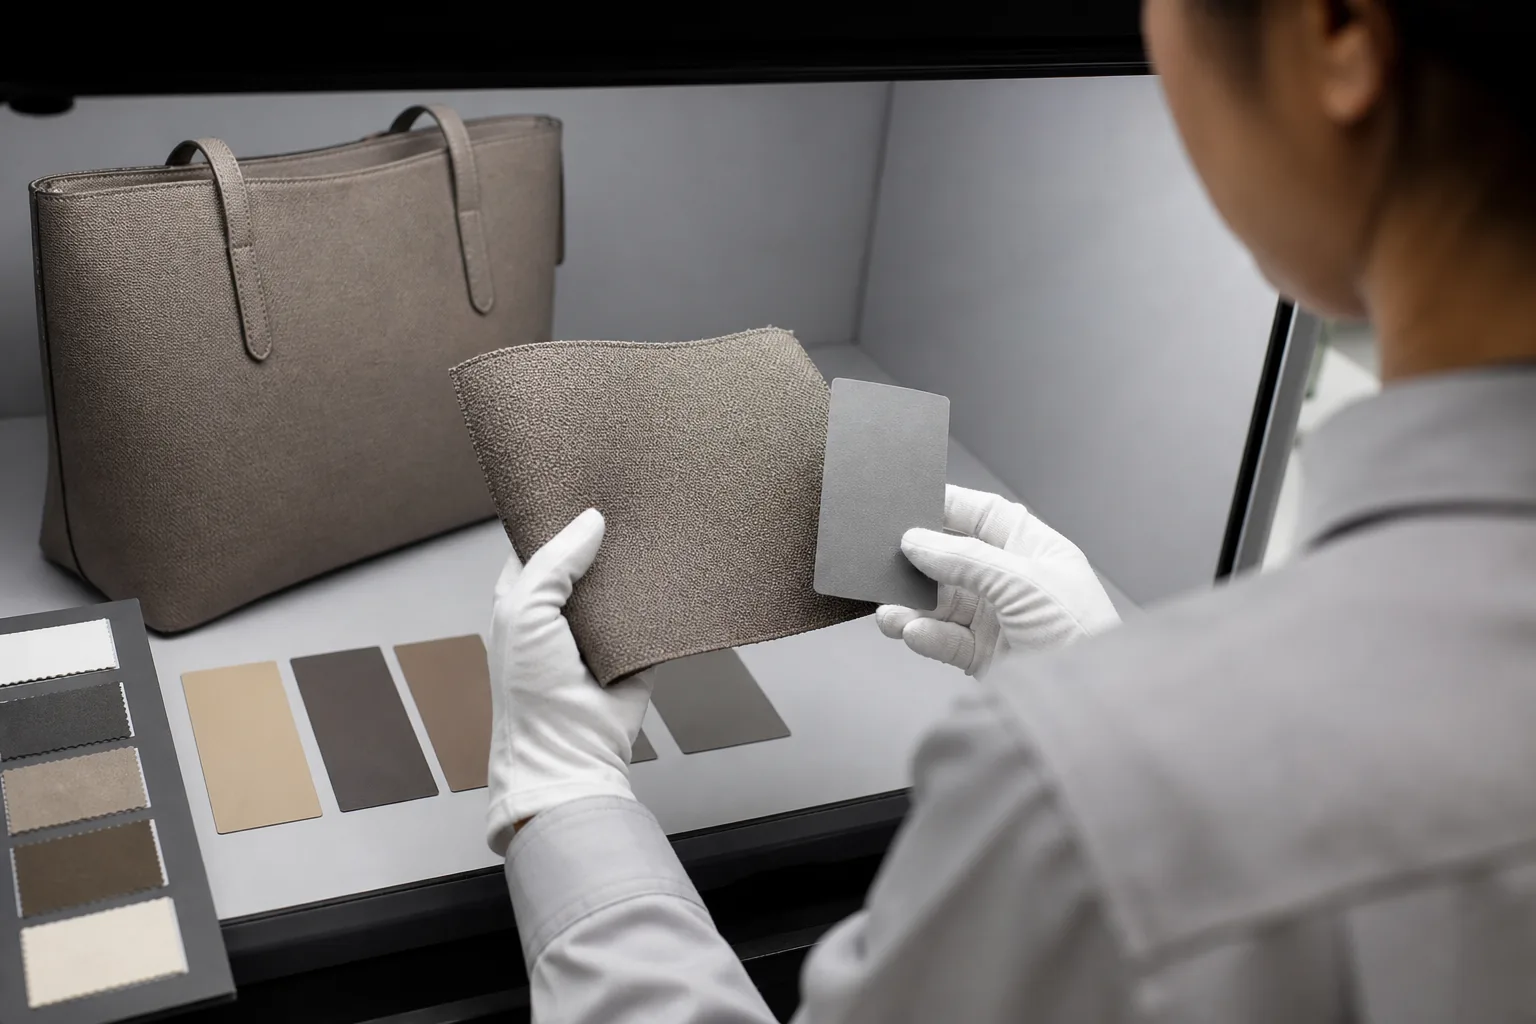
Compare production-intent material with the approved swatch under neutral light. Review shell, lining, webbing, thread, zipper tape and printed ink separately because they reflect light differently. Set an instrumental color tolerance only if both parties can use the same method; otherwise keep a dated physical swatch and define the visual acceptance conditions. For the complete material and dye-lot workflow, use our custom bag color matching guide.
4. Pattern Shape, Symmetry and Fit
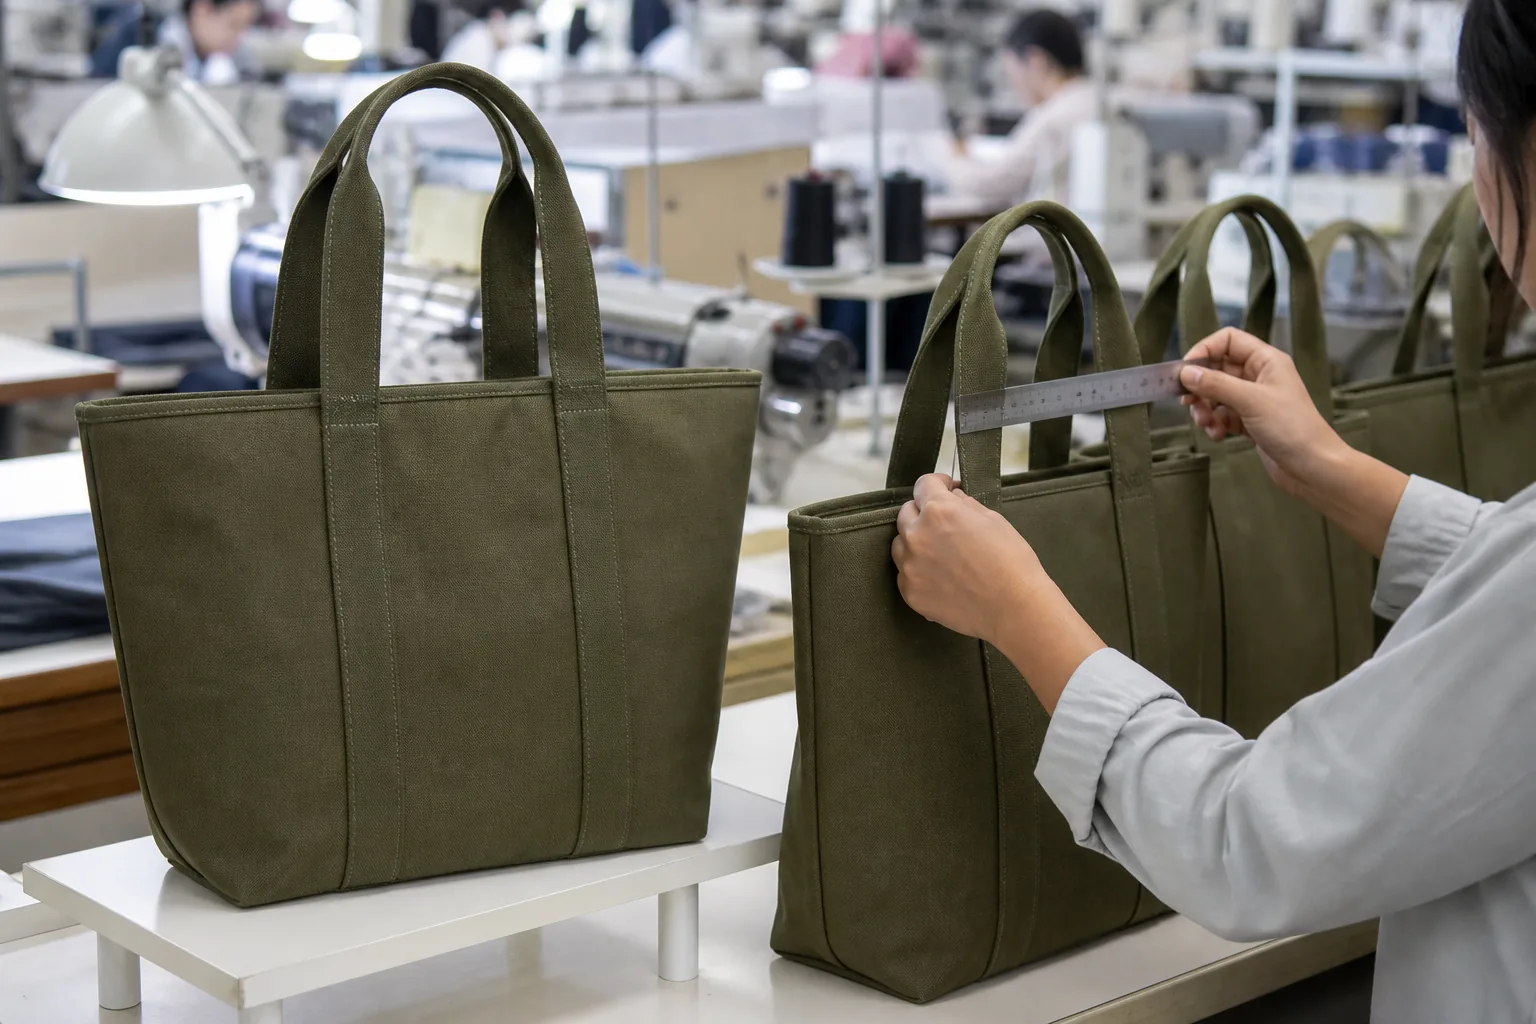
Stand the bag up, fill it with representative contents and view it from the front, side and top. Check matched curves, centered openings, balanced handles and whether the base twists. For laptop sleeves, organizers and fitted cases, use the real product or a dimensionally accurate dummy. A nominal length and width do not prove that corner radii, padding and closure clearance will fit.
5. Stitching, Seam Allowance and Reinforcement
Inspect stitch consistency, back-tacking, bar tacks and stress-point reinforcement. Turn the bag inside out where possible. Look for skipped stitches, unsecured thread ends, puckering, raw edges outside binding and seam allowance that narrows around curves. Specify stitch density only where it matters; one natural requirement is more useful than repeating a generic “high quality stitching” phrase.
6. Zippers, Snaps, Buckles and Other Hardware
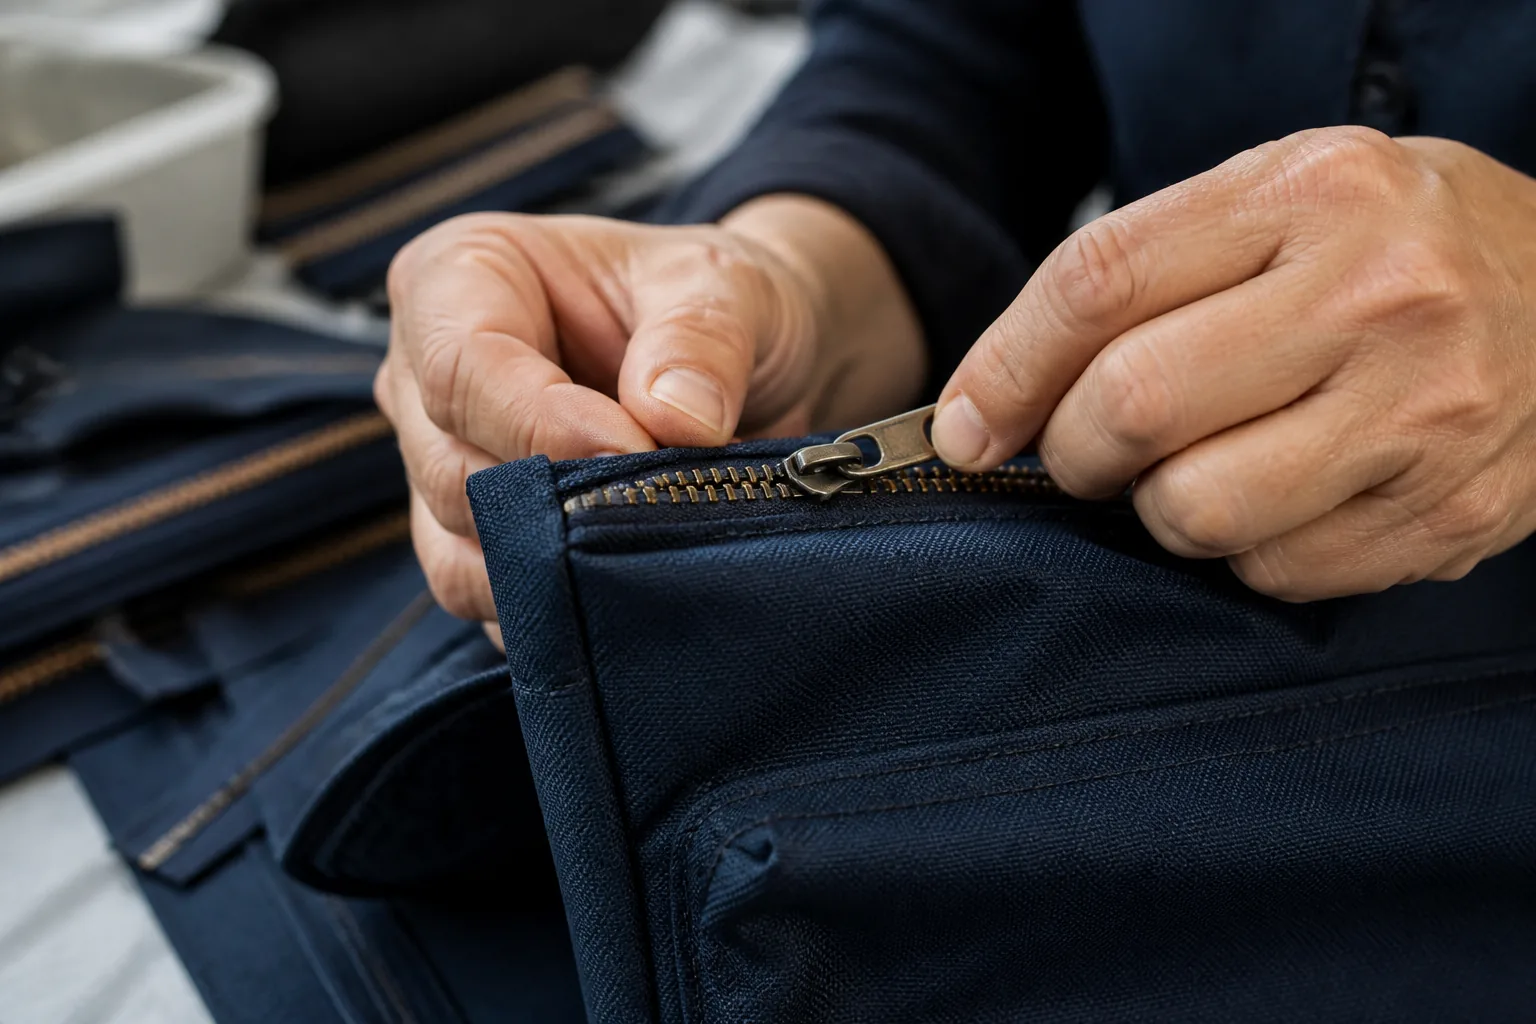
Operate every moving component at least 20 times during approval. A zipper should run through curves without catching the lining; snaps should align without distorting the panel; buckles should engage positively and release without excessive force. Confirm plating color, puller orientation, end stops and any protective film.
7. Logo Accuracy and Placement
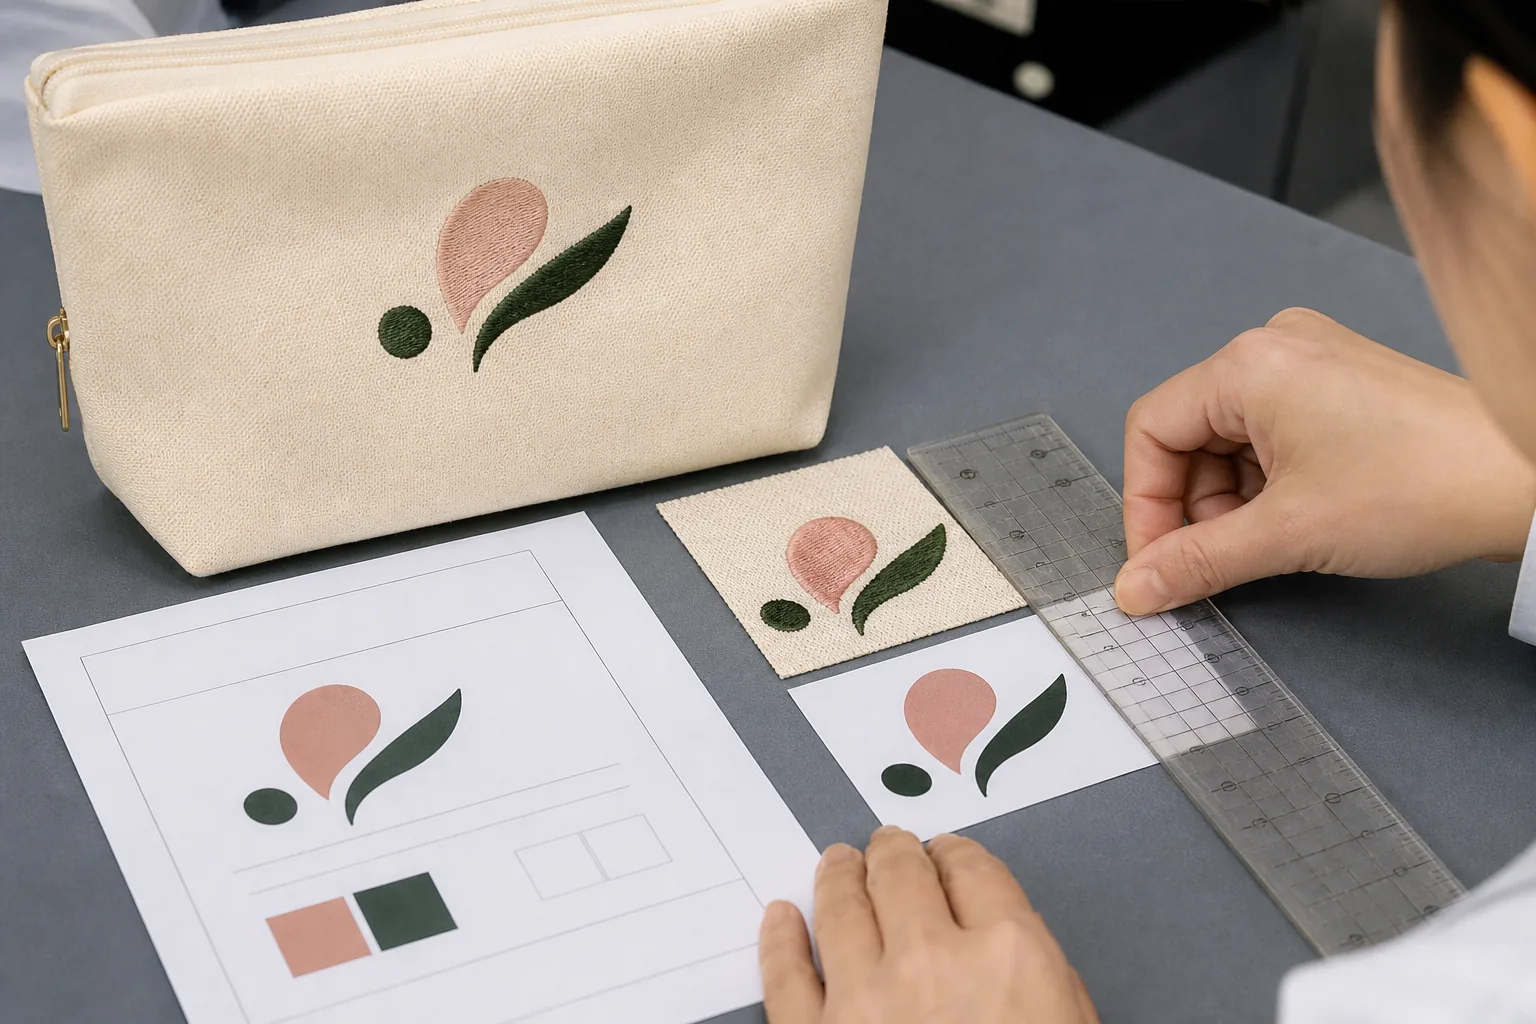
Use the approved artwork at final size. Measure the logo from stable construction references such as a centerline or finished seam—not from a raw cut edge. Check embroidery density and loose threads, print coverage and adhesion, deboss depth, metal badge alignment and back-side reinforcement. Approve the actual technique and substrate combination intended for bulk.
8. Pockets, Lining and Internal Usability
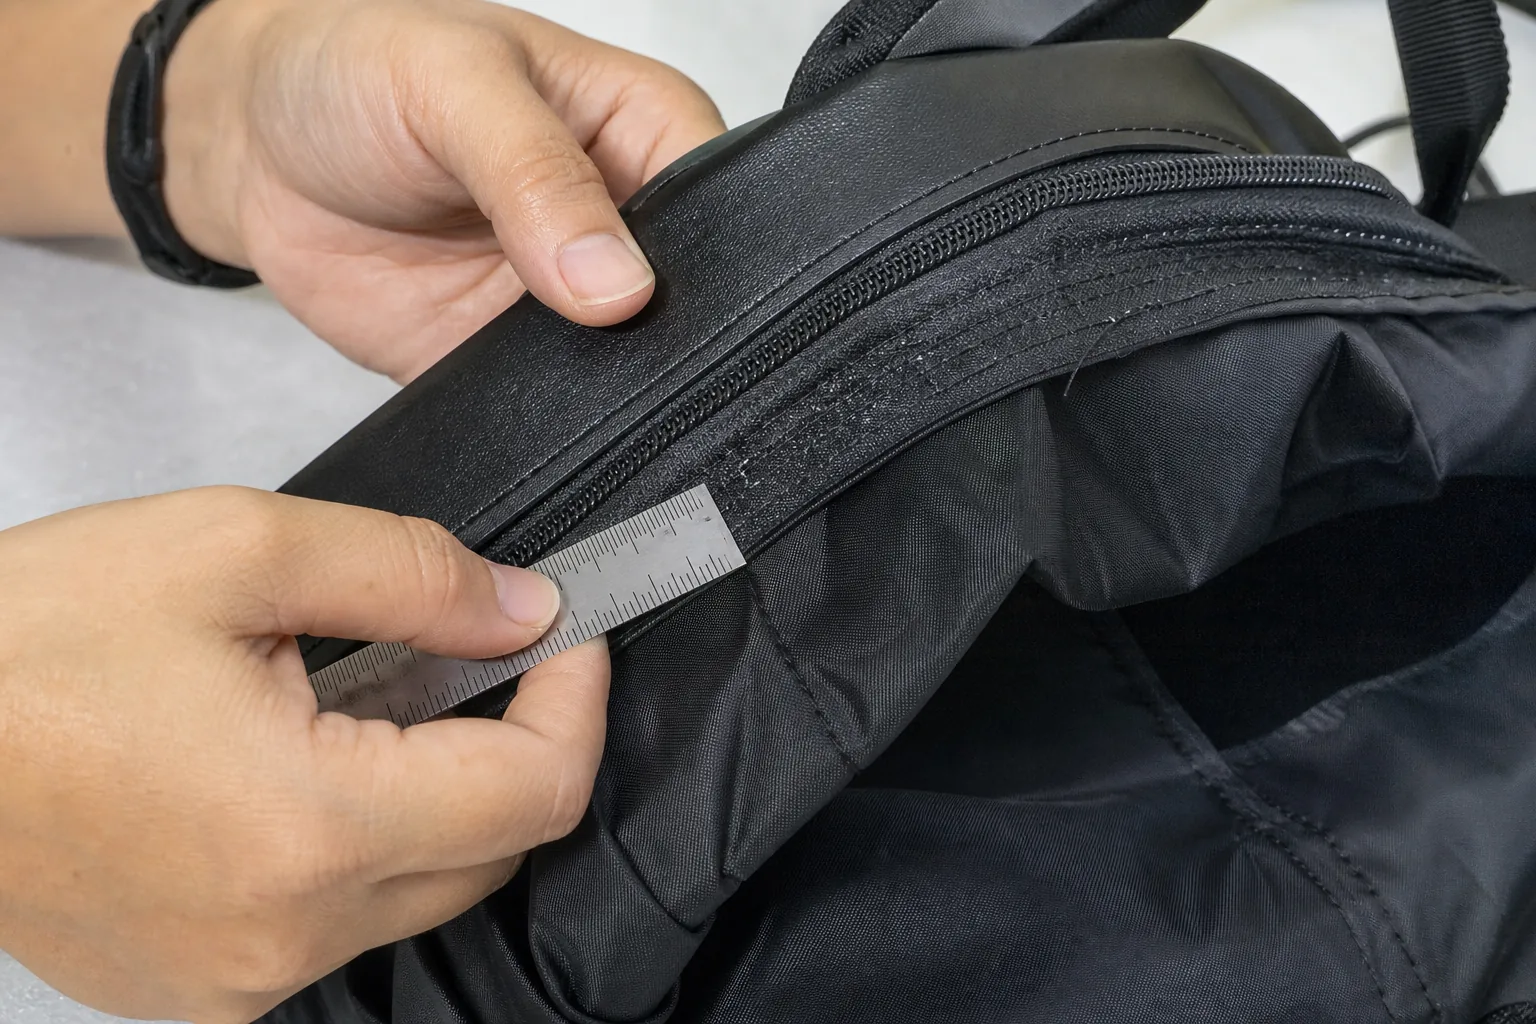
Put the intended items into every compartment. Verify pocket depth, usable opening, lining attachment, binding, label position and whether a zipper pull can be reached when the bag is full. Run a clean white cloth inside dark linings to flag loose dye, dust or oil. For cosmetic or cooler bags, confirm the agreed wipe-clean or leak-resistant construction rather than assuming the fabric name guarantees it.
9. Carry Test and Load Strength
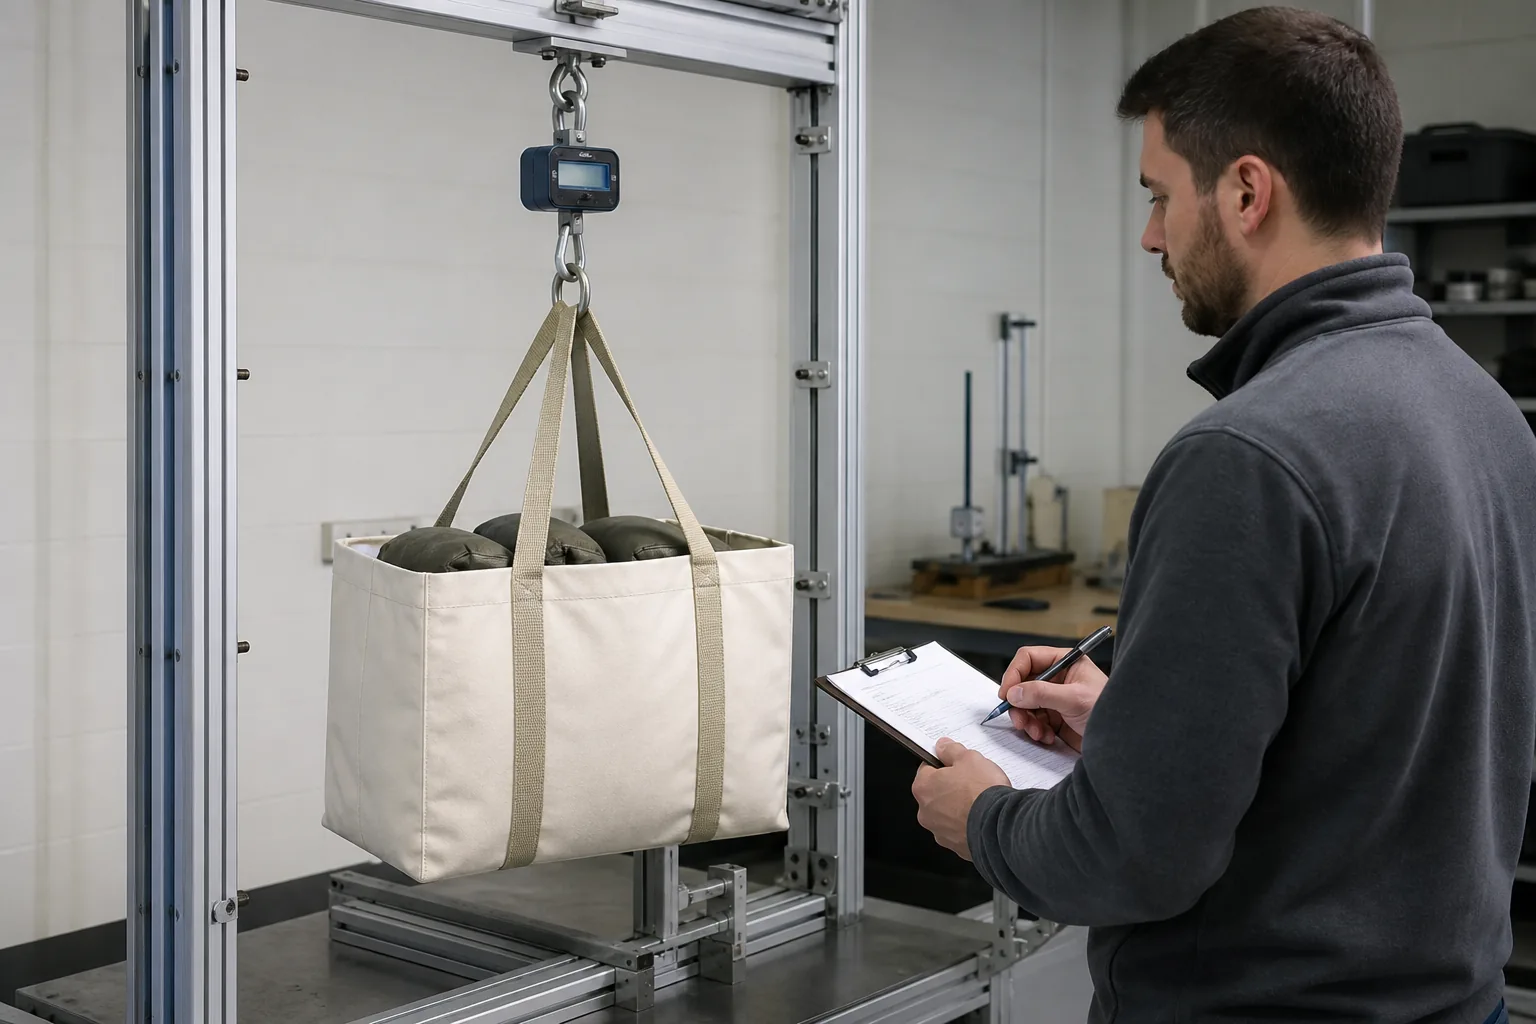
Load the sample to the agreed test weight using distributed contents, then lift, carry and hang it for the specified period. Observe handle elongation, seam opening, hardware deformation and panel distortion. The approval record should state the load, duration and pass condition. This is a practical pre-production screen, not a substitute for formal laboratory testing when a market or product claim requires it.
10. Odor, Surface Cleanliness and Finish
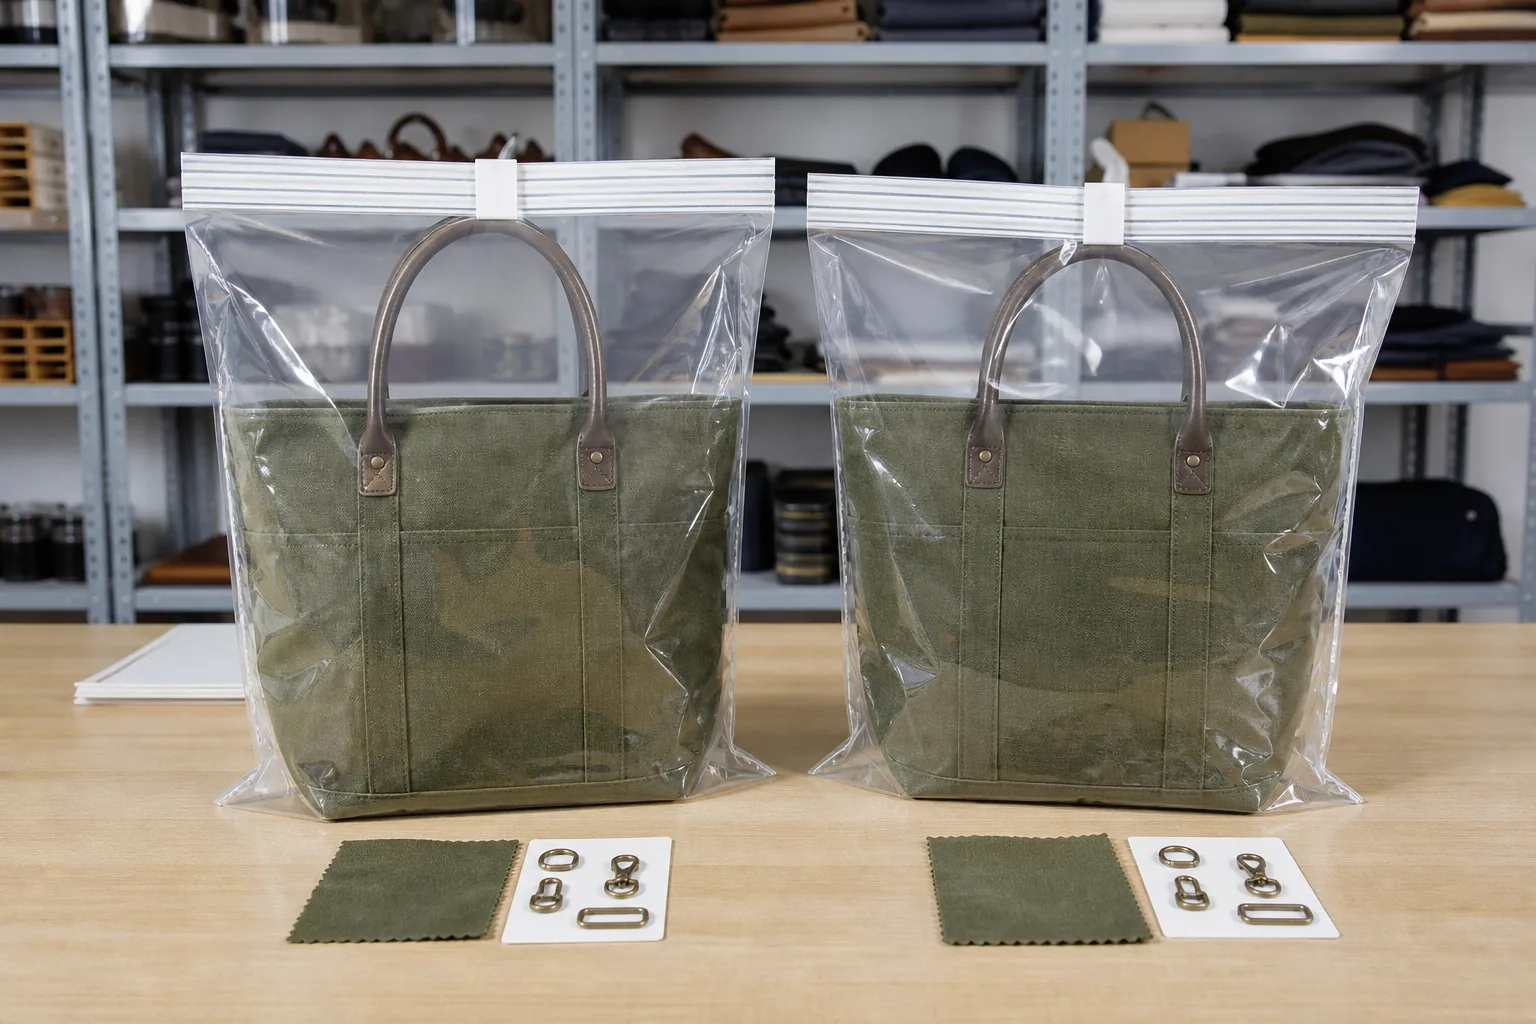
Open the sample after it has remained sealed for several hours. Note persistent solvent, adhesive or musty odor. Review edge paint, coating, quilting, piping, trimming and pressing in side light. Set reasonable workmanship expectations for the material: natural leather variation is not judged like coated synthetic material, and soft recycled fabric will not behave like rigid virgin polyester.
11. Labels, Packaging and Pack-Out
Check care and country-of-origin labels, hang tags, barcode placement, bag folding, protective materials, polybag warning requirements and carton quantity. Scan a real barcode from the packed unit. Packaging must protect the shape without creating permanent creases or transferring ink onto the product.
12. Documentation, Change Control and Golden Sample
List every deviation and decision in one sample review record. Attach close-up photos, measured values and marked-up drawings. Once corrections are closed, both parties sign or digitally approve the same revision. Seal and label the physical golden sample with style number, color, date and revision; ideally the buyer and factory retain matching units.
When to Approve, Approve with Conditions, or Resample
| Status | Use it when | Required evidence |
|---|---|---|
| Approve | All critical features match and only normal workmanship variation remains. | Signed record, photos and sealed golden sample. |
| Conditional approval | A correction is objective, isolated and verifiable before bulk assembly. | Exact correction, owner, deadline and proof method. |
| Resample | Fit, color, material, logo, safety, construction or user function changes. | Revised sample or agreed component proof before cutting. |
If a correction cannot be described so that a different technician could verify it, it is not ready for conditional approval.
The Handoff from Sample Room to Bulk Production
Approval is complete only when the production team receives the same standard. Hold a pre-production meeting using the golden sample, current tech pack, material approvals and known risk points. Confirm which details require first-piece review and which will be checked during inline and final inspection. Our bag tech pack guide explains how to define the specification; the bag quality control guide covers inspection once production begins.
For a new structure, request a first production piece after line setup but before the full run advances. This is especially valuable when bulk material behaves differently from sample-room stock. It does not replace the golden sample; it verifies that the approved standard survived the transition to production.
Frequently Asked Questions
What should I check before approving a custom bag sample?
Check dimensions, materials, color, shape, stitching, hardware, logo, internal function, strength, finish, labels and packaging against the approved documents. Record measurements and photos before signing.
What is a golden sample?
It is the final physical sample accepted by buyer and factory as the workmanship and appearance reference for bulk production. It should match the current tech pack and bill of materials.
Can I approve a sample with minor changes?
Yes, when the correction is measurable, low risk and recorded with a verification step. Changes to fit, materials, color, branding, safety or construction normally deserve a revised sample or component proof.
How many sample rounds are normal?
A simple existing construction may need a prototype and one pre-production revision. New shapes, molds, performance claims or complex decoration may require more.
Should both sides keep a golden sample?
Yes, matching sealed samples reduce disputes. If only one exists, agree who stores it and document it thoroughly for inspectors.
Need a Production-Ready Sample Review?
Send your tech pack, target use, order quantity and current sample comments. MerrisBags can help convert subjective feedback into measurable corrections before bulk production.
Request a Sample Review