The short answer
Fit depends on the case-inclusive chassis dimensions, insertion path, compartment and loaded closure. Check the specific device configuration.

Measure the device buyers will actually carry
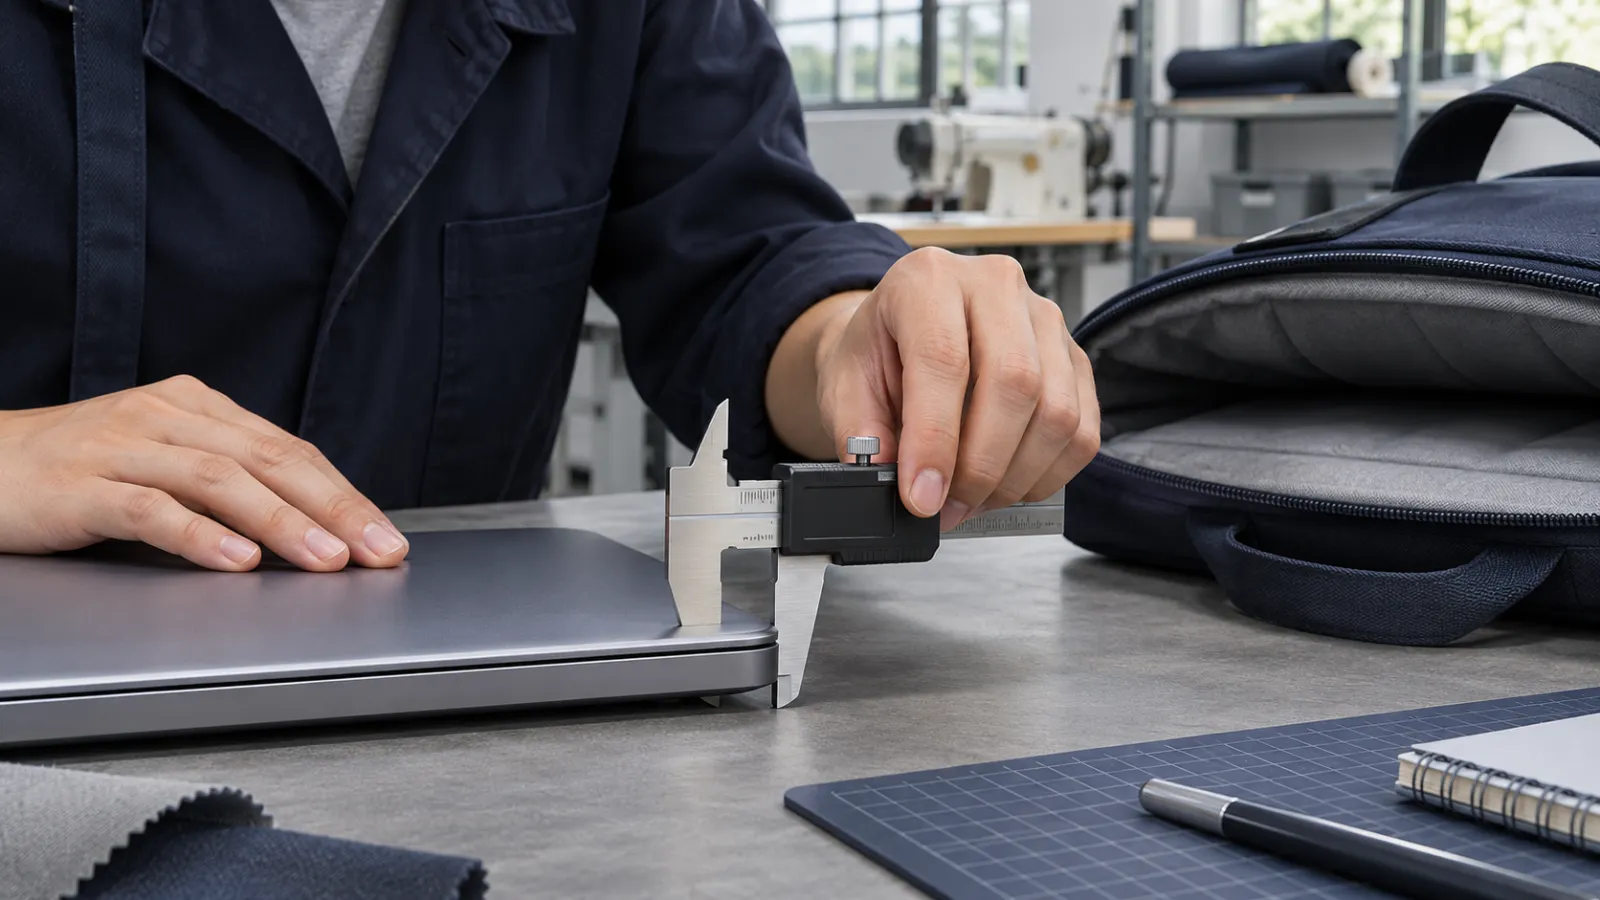
A 15.6-inch label describes the display diagonal. To size a compartment, record the closed device’s longest edge, shorter edge and maximum thickness, including feet and hinges. Use the same orientation in the bag drawing. A manufacturer’s specification sheet is a starting point because it reports chassis dimensions separately from the display. Confirm the exact model and measure the physical device if a case, skin or protruding part changes its outline.
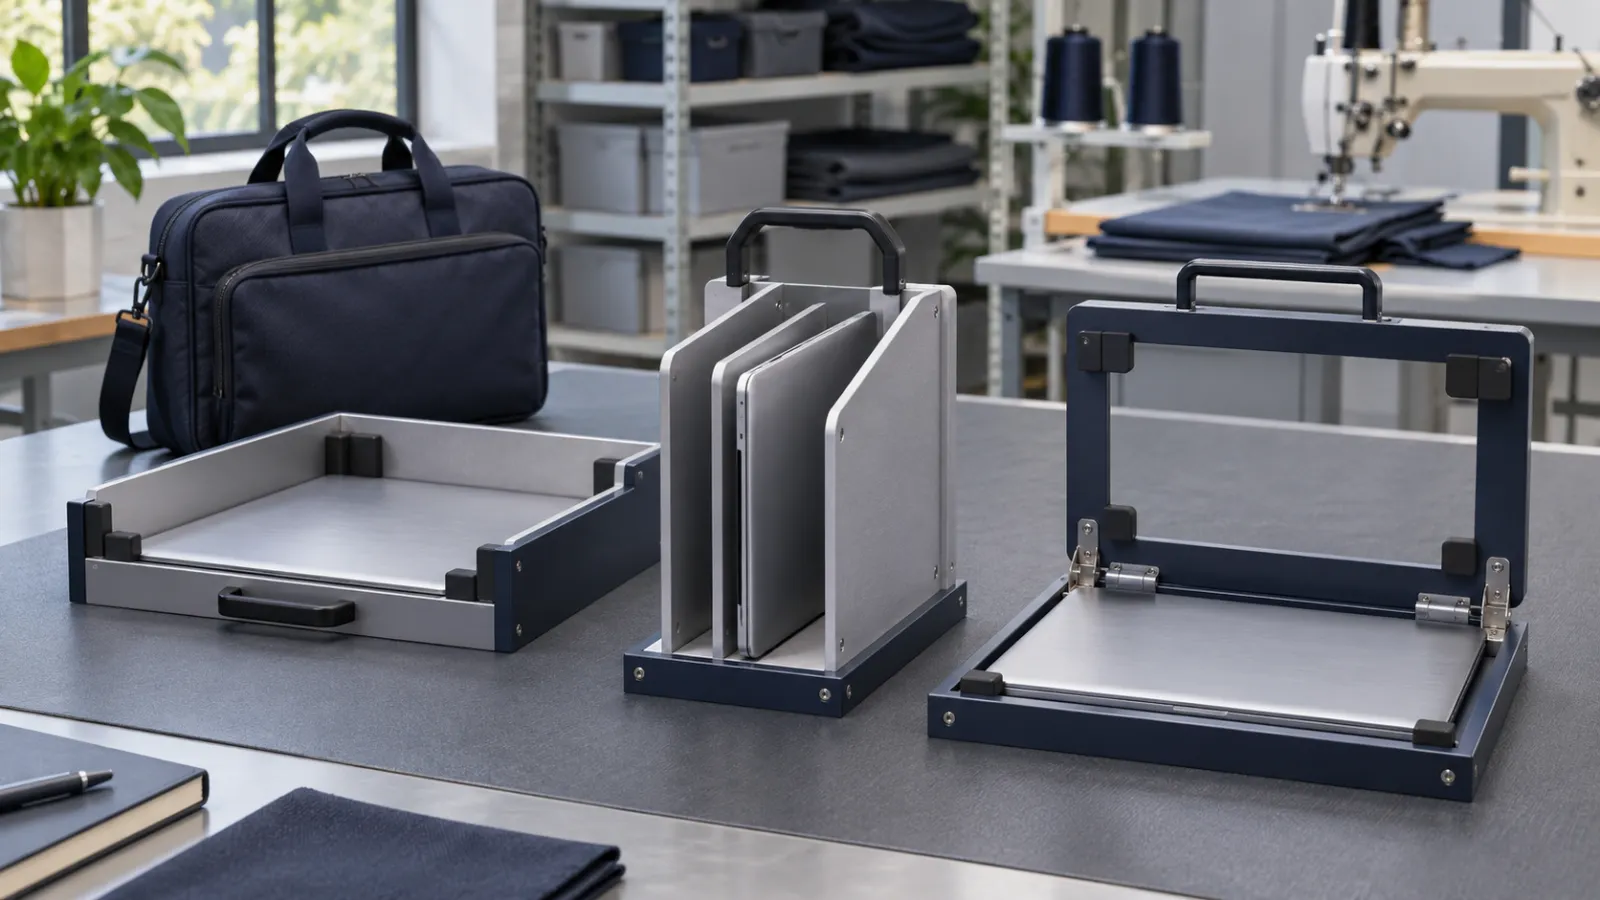
Measure at the widest or thickest point, not halfway along a tapered side. In the procurement brief, keep bare and cased dimensions in separate rows. If a buyer supplies a model name only, ask for the exact variant and whether the cover stays on. A rigid gauge should reproduce the largest envelope and relevant corner profile, with a smooth finish that will not damage the sample.
Dell specification sheet showing display and chassis dimensions separately

Specify the opening and compartment separately
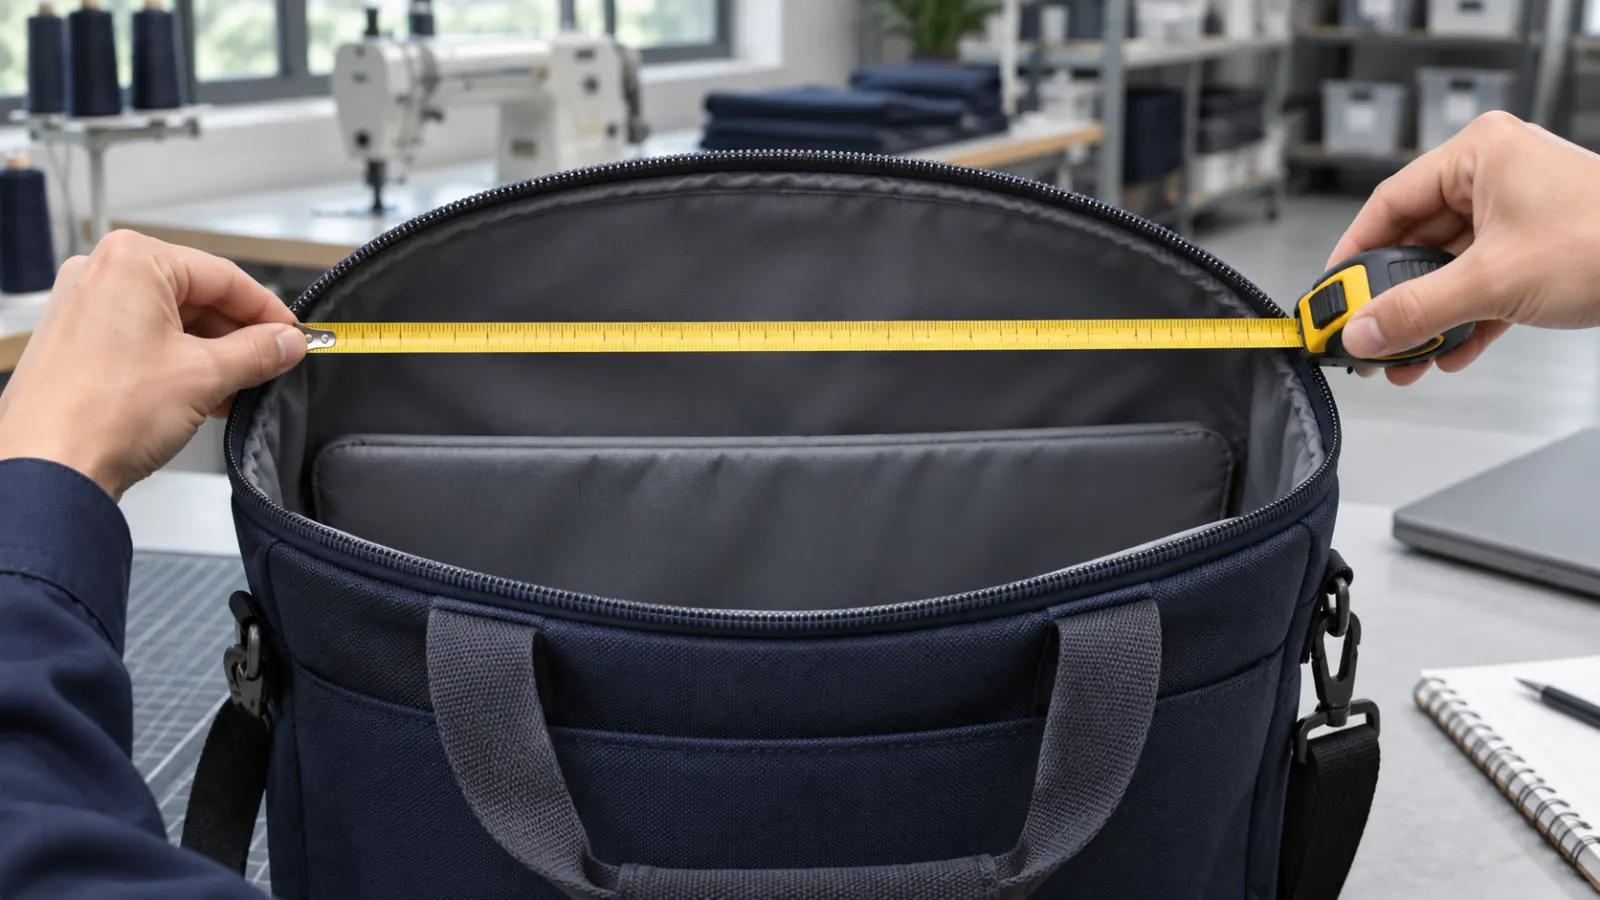
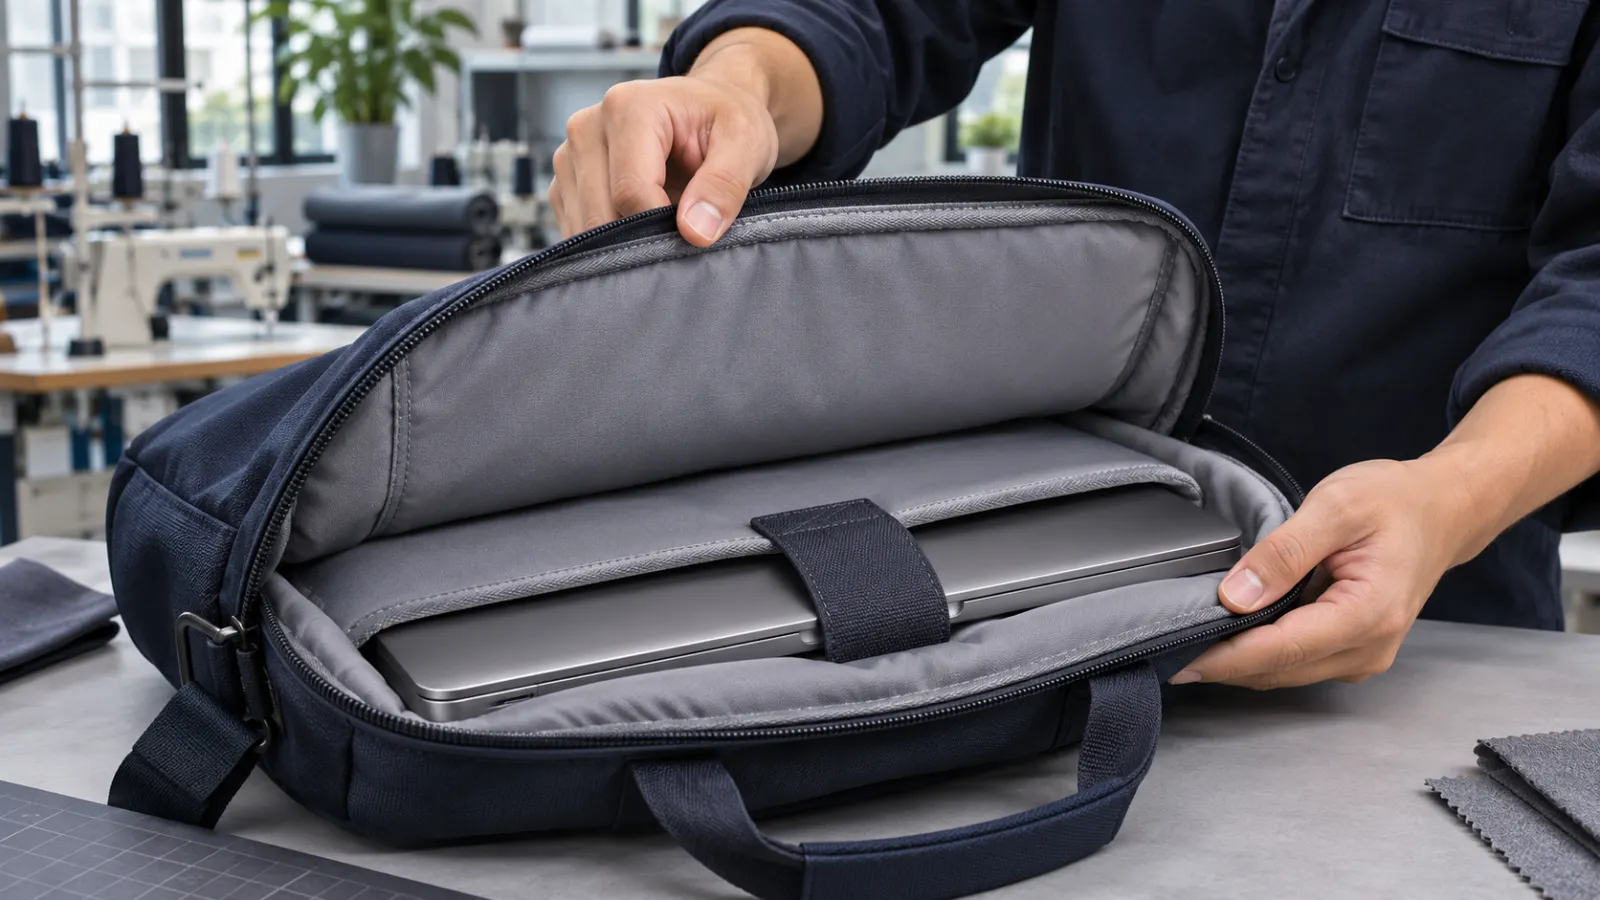
Measure the usable mouth with the zipper fully open in its normal position. Record any narrower point at the curved ends and note whether the device enters flat or at an angle. Zipper tape, the slider stop, binding and lining can narrow the actual insertion path. A device that fits once forced past the opening can still fail the insertion check.
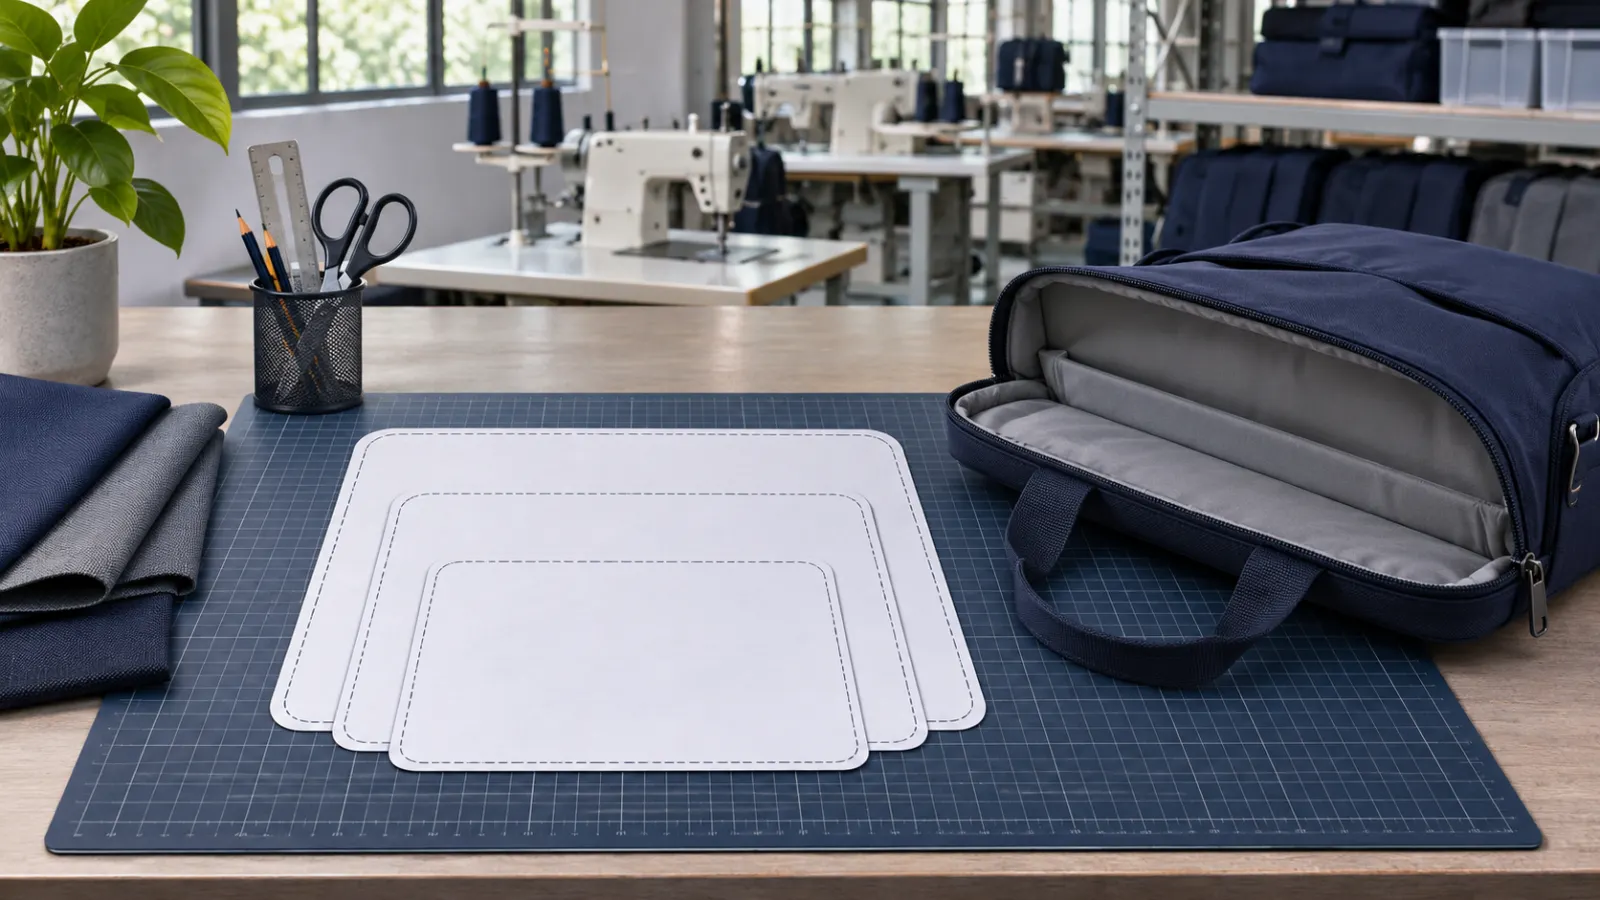
On the drawing, separate overall bag dimensions, clear opening and usable compartment dimensions. Measure the finished compartment with padding and seams in place, without stretching the mouth. Record the measurement setup. Avoid a generic allowance in millimetres because the opening geometry, material recovery and intended carry configuration change the result.

Work through three fit failures before changing the pattern
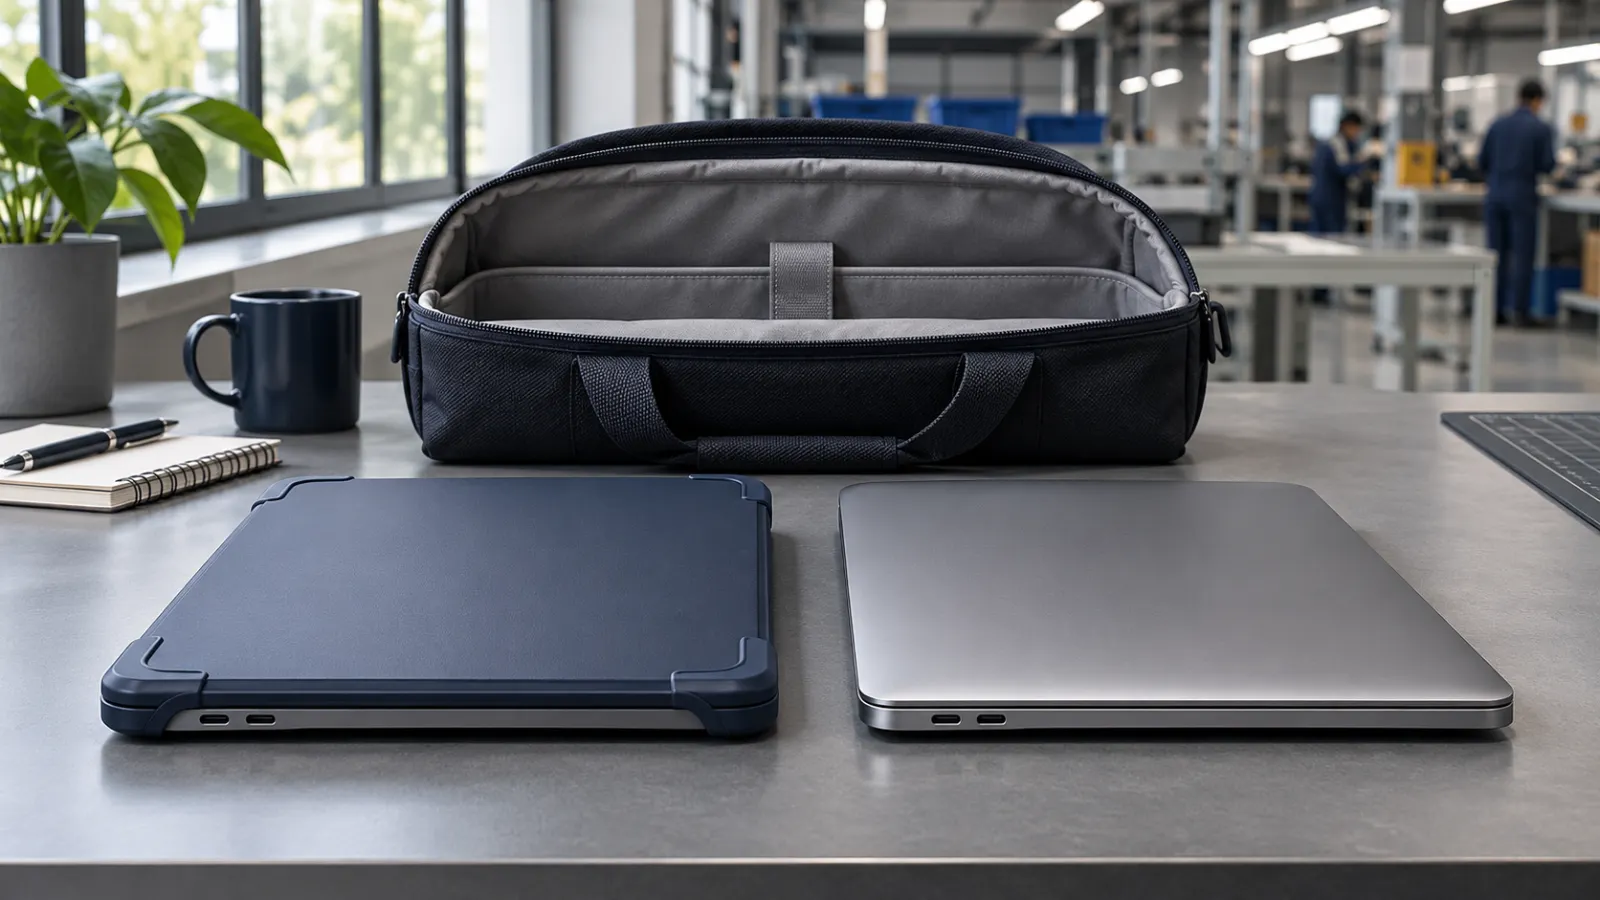
Consider a fictional order for a shared 15.6-inch bag. The first laptop enters and sits flat. A second device with a cover catches at the zipper end before it reaches the compartment. A thicker third device enters when the bag is empty, but a charger in the adjacent pocket pushes the divider into the closing path. These are different defects, even if the customer describes all three as “too small”.
For the cased device, compare the mouth and insertion angle before widening the entire bag. For the charger conflict, move the accessory, reduce pocket overlap or revise the divider and repeat the test. For any tight corner inside the compartment, inspect seam bulk and pad placement before changing nominal width. Change one factor at a time and record which sample revision solved it.
| Configuration | Insertion | Seated fit | Loaded closure | Next check |
|---|---|---|---|---|
| A Bare laptop | Pass | Pass | Pass | Record the tested layout |
| B Laptop with case | Fail | Not tested | Not tested | Check the zipper end and case corner |
| C Thick laptop with charger | Pass | Pass | Fail | Reposition charger and retest |

Approve the bag with the work kit inside
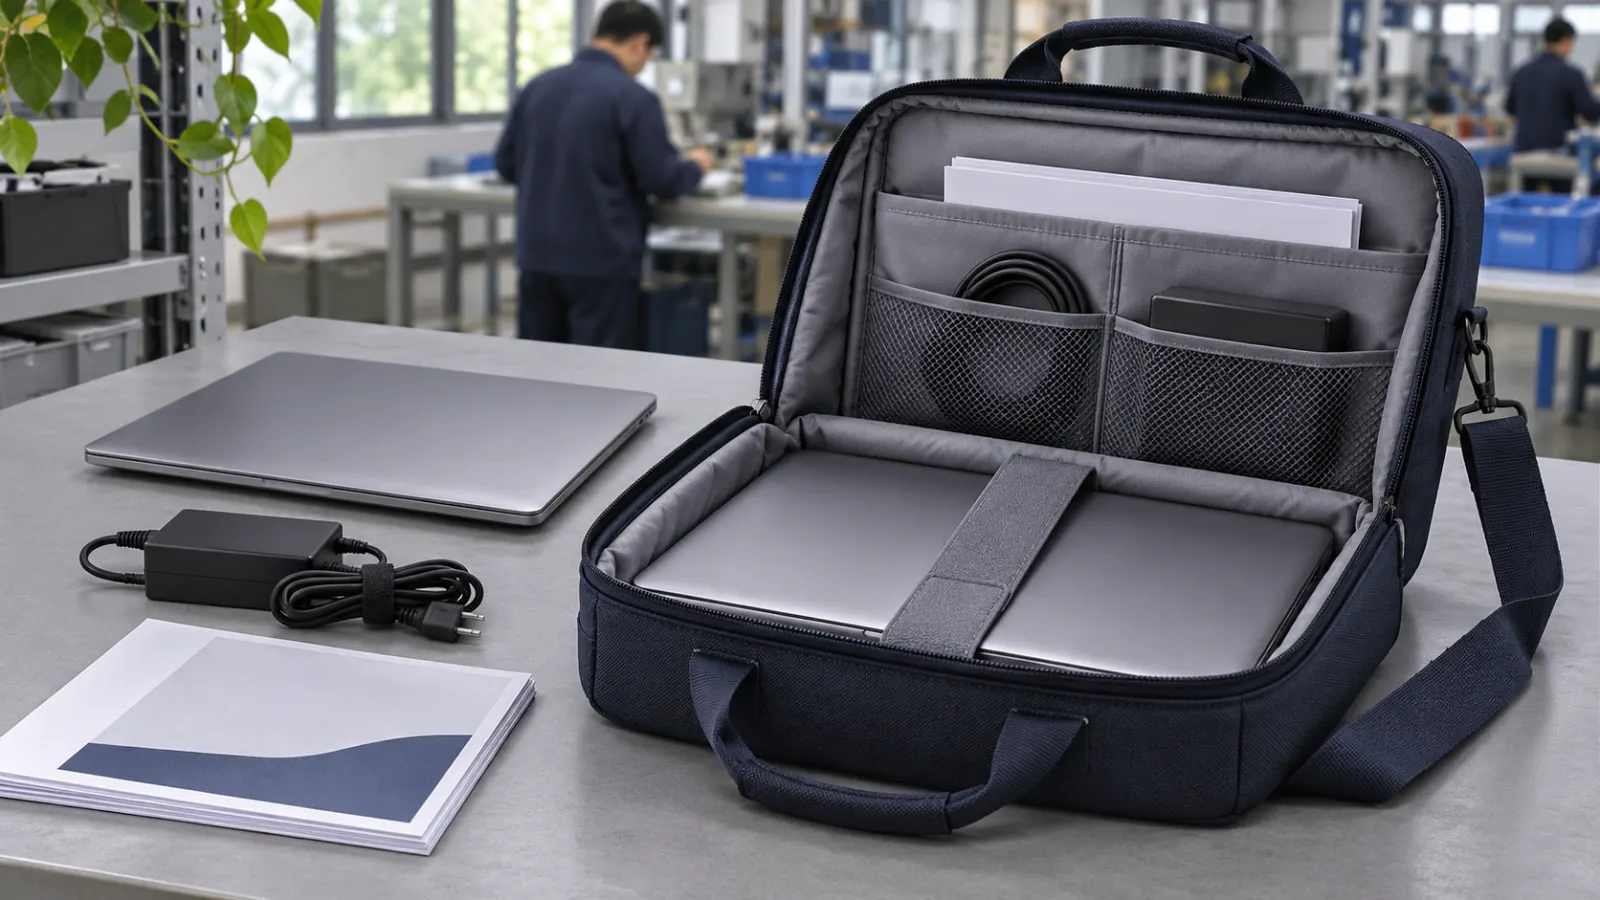
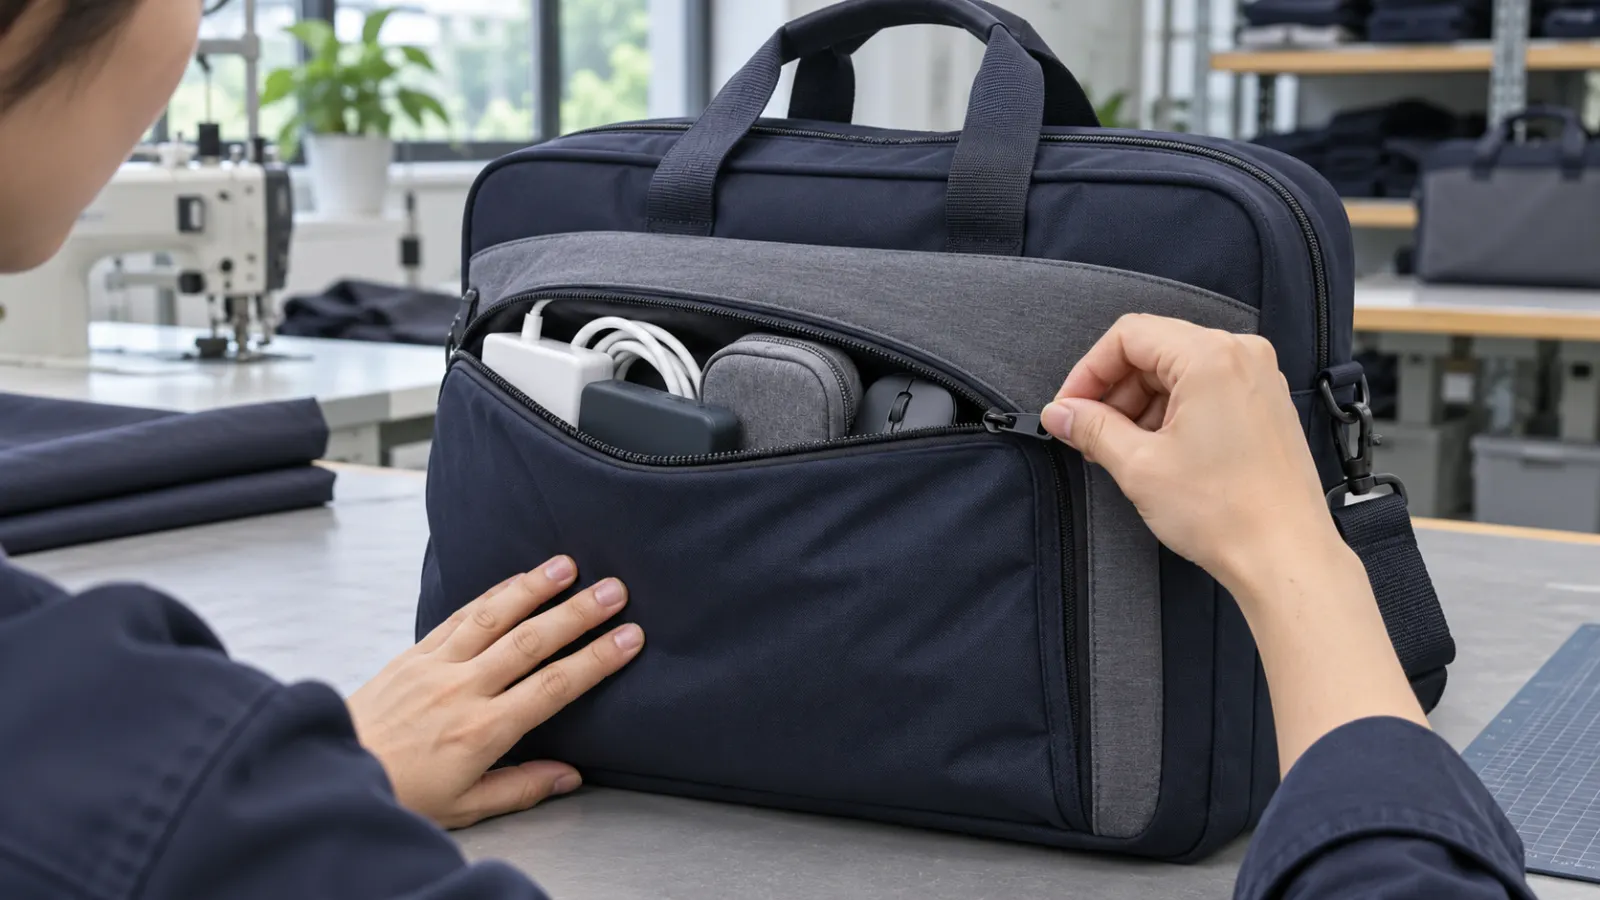
Run an empty-bag fit first, then repeat with the intended charger, documents, cable and mouse in their assigned positions. Use the same insertion and removal sequence each time. Check whether the device sits flat, the zipper clears its corners and the front pocket pushes into the compartment. Note whether any pressure comes from the charger body, the plug or a cable bend.
Define acceptance as an observable action. For example, the buyer can require full closure in the specified loaded configuration without pushing on the lid or trapping the lining. Record the layout and sample ID alongside the result. For a thin document bag, a bulky charger may require a different carrying plan rather than more padding or a heavier shell.

Build a fit matrix that covers the worst case
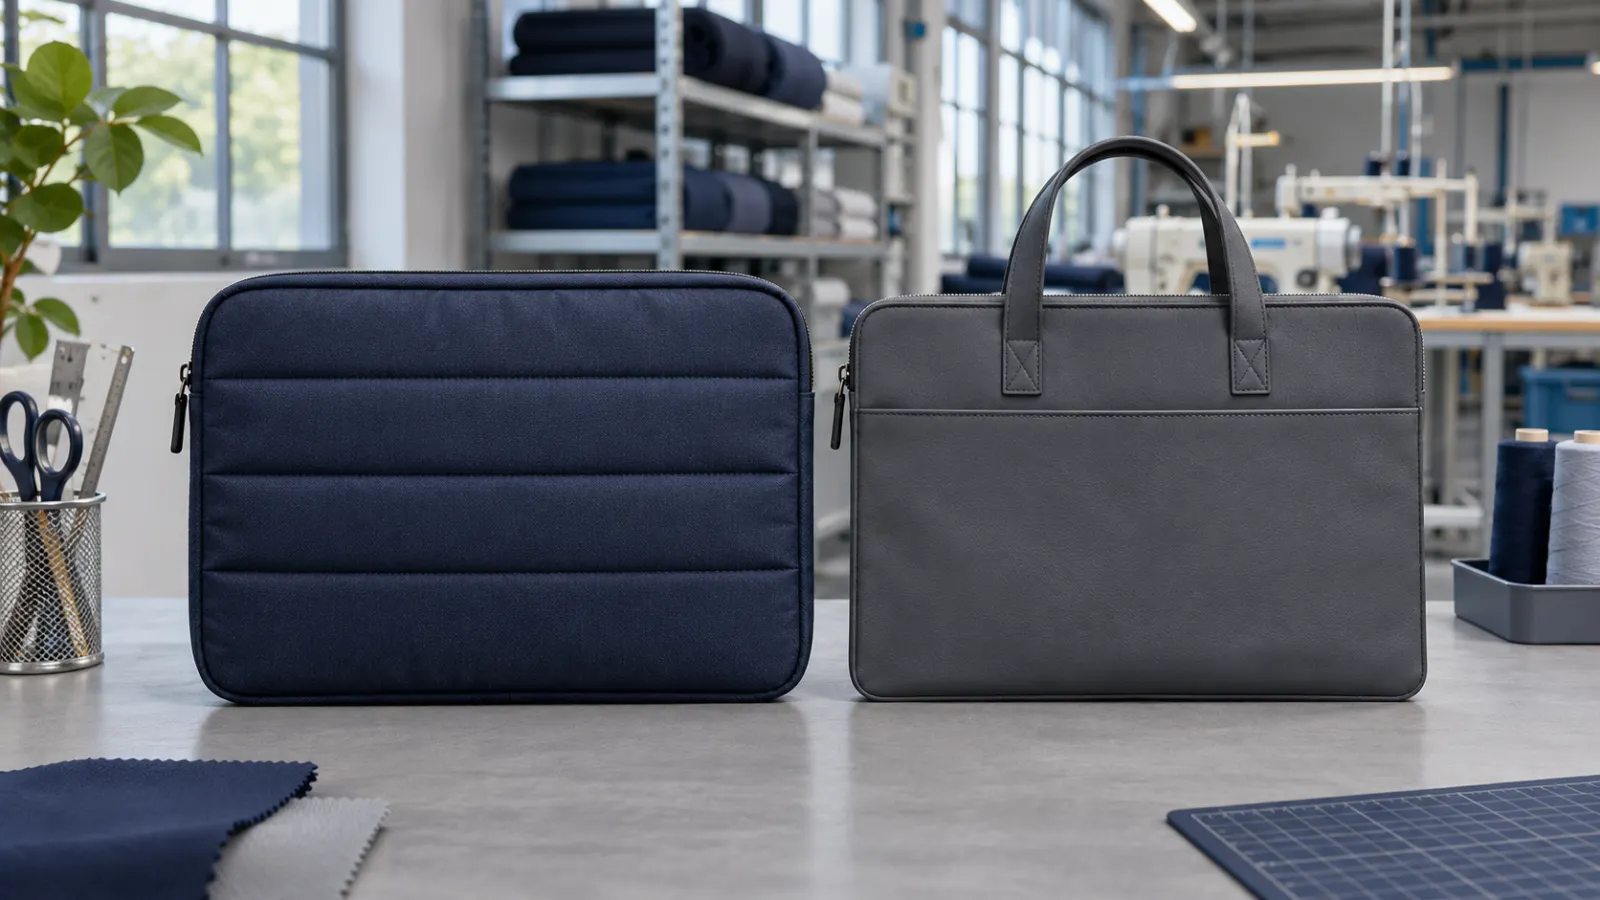
One device is not always the worst case in every direction. The widest model may govern the opening while a thicker case controls corner pressure. List every promised model and configuration, then choose representative test devices or gauges for each limiting dimension. Keep the actual device requirement and the observed result in separate columns.
Mark each row Pass, Fail or Not tested for insertion, seated fit and loaded closure. If only a gauge was used, record that explicitly and check any interactions a gauge cannot show, such as a hinge protrusion, an unusually rounded shell or the way the protective case grips the lining. Treat any untested model as pending confirmation in catalogue and sales materials.

Carry the approved fit into production
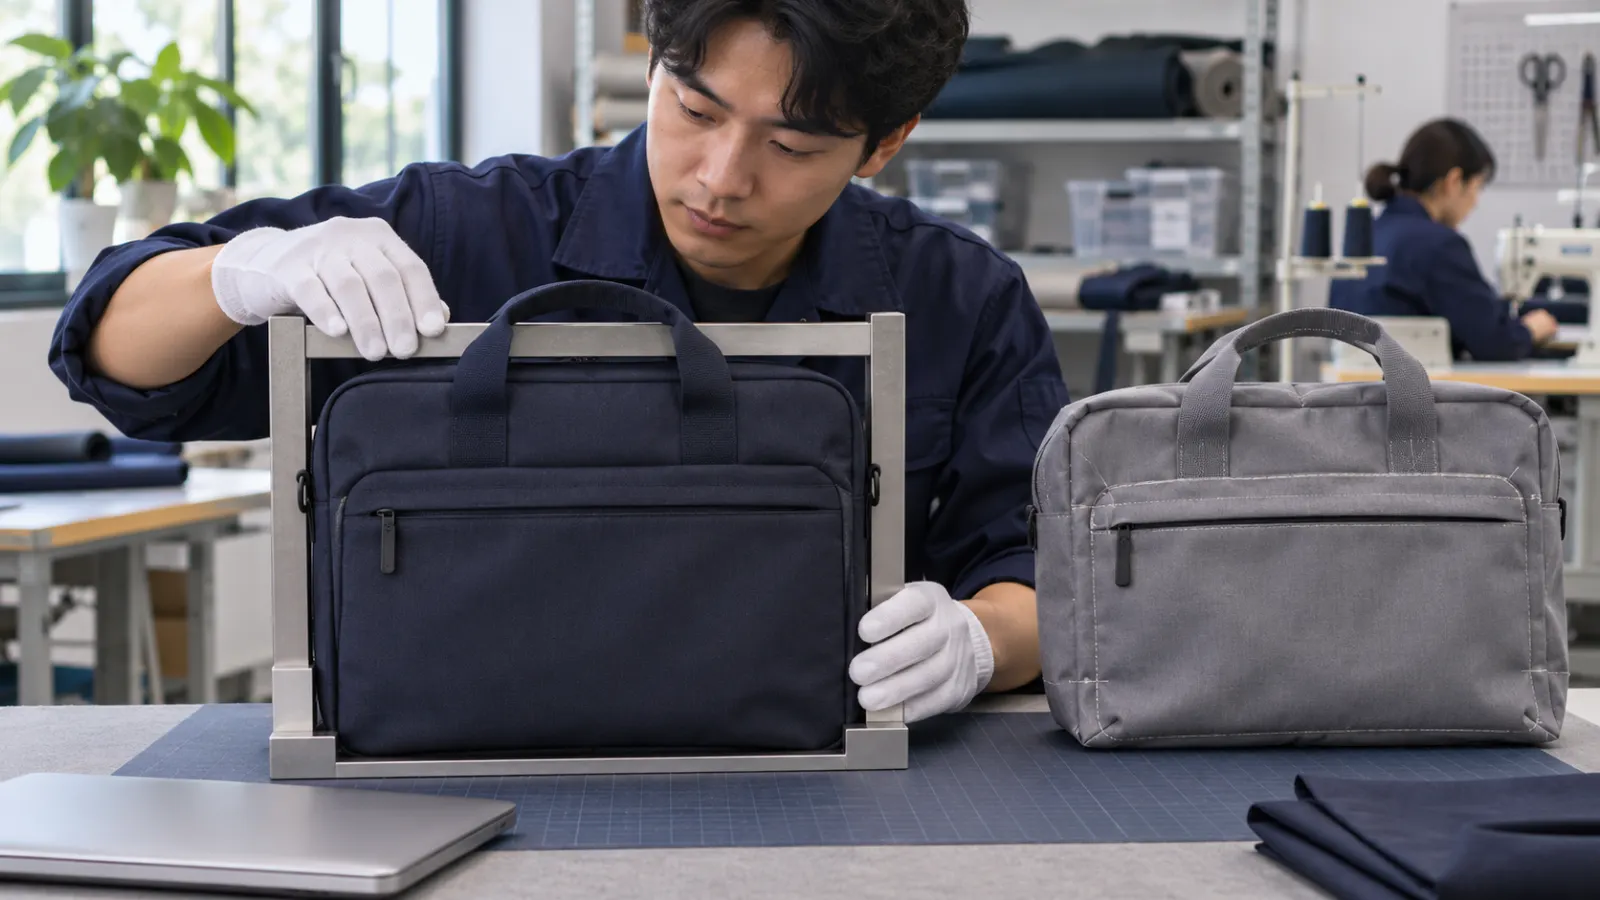
A custom laptop bag manufacturer needs the approved drawing revision, test configuration, retained sample and agreed fit checks. The buyer supplies the device list, accessory layout and acceptance criteria. The factory confirms the finished dimensions and construction, proposes changes if needed, and records the tested sample. Do not release a revised pad or zipper by colour and material name alone.
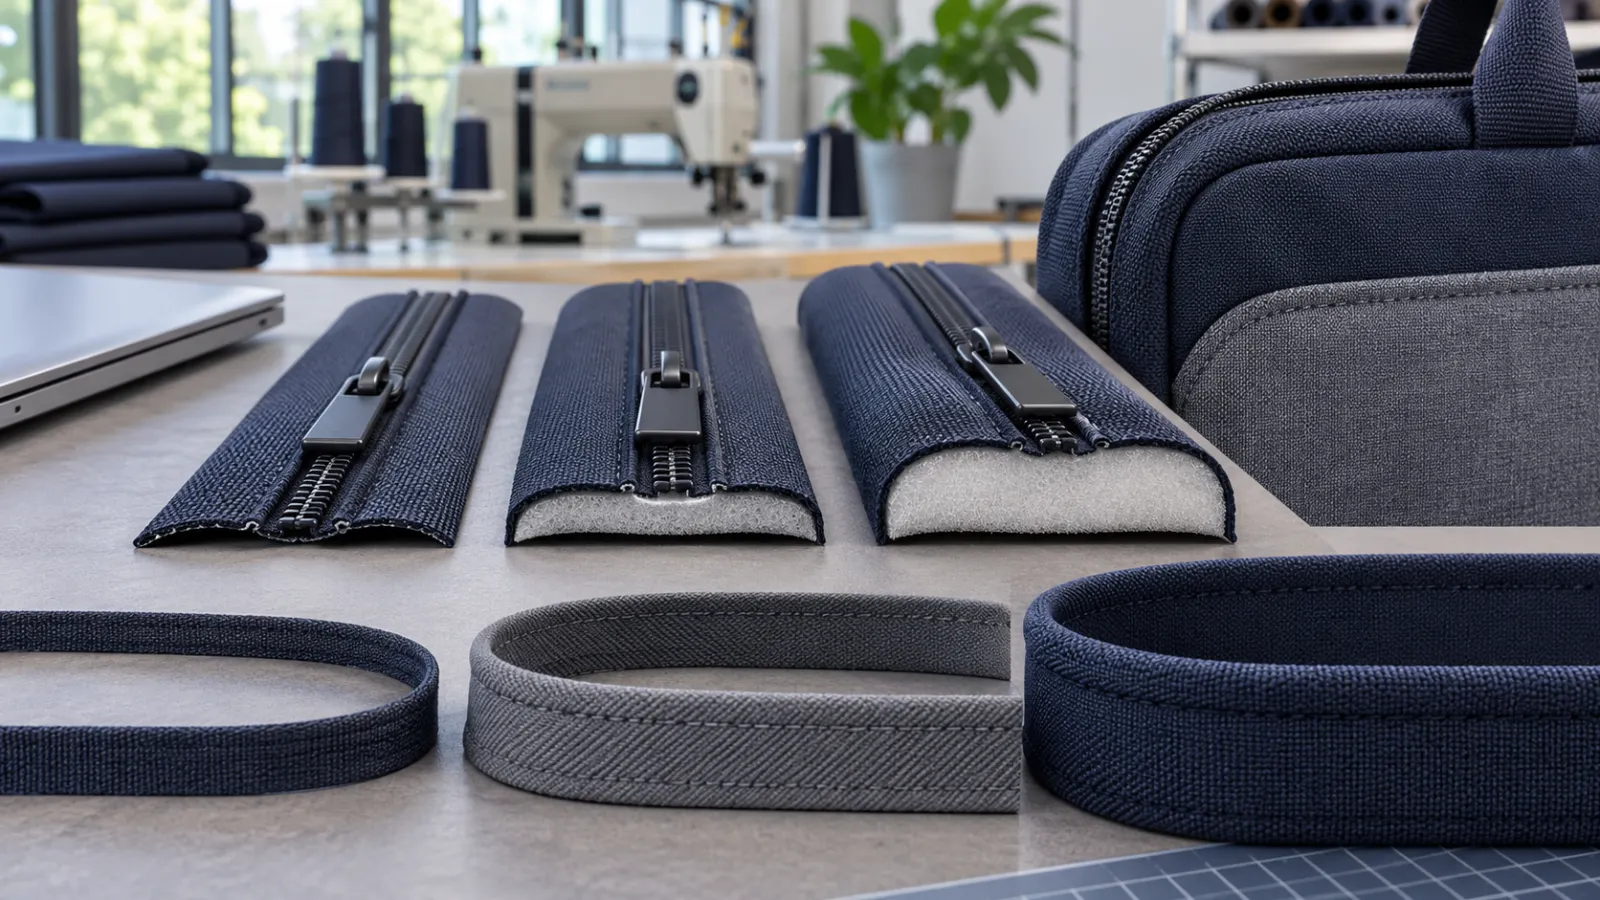
Before cutting, check the approved component references. On first assembled pieces, verify the opening, corner clearance and loaded closure. Repeat the affected checks if zipper length, binding thickness, foam or pocket layout changes. Agree responsibility for release, the sample quantity and any additional performance tests in the order documents. Fit approval does not establish a drop or water-resistance rating.
Send a factory brief that can be quoted
Send the device matrix, case policy, accessory list and intended carry mode. Include target order quantities by variant, branding location, packaging and destination. Ask the OEM team to quote the selected fit construction, including padding, opening geometry, pocket layout and hardware. If ODM development involves a different compartment or closure, request separate pattern and sample costs.
For private-label sourcing, retain the approved sample, material and hardware references, and printed label artwork. Ask which substitutions need written approval and how they affect delivery. Confirm the decision owner for fit and the production release point. Start with one approval configuration, then broaden it only after the additional models have been checked.

Fields to copy into the purchase specification
Record each model and case condition, chassis length/width/maximum thickness, clear opening and compartment, accessory arrangement, fit result, sample ID, drawing revision, approver and date.
Create the bag tech pack · Control changes on repeat orders · Compare laptop bag constructions · Discuss a device-fit sample
Frequently asked questions
Will every 15.6-inch laptop fit the same bag?
Fit depends on the case-inclusive chassis dimensions, insertion path, compartment and loaded closure. Check the specific device configuration.
Why can a laptop fit the interior but fail at the opening?
Zipper ends and binding can narrow the insertion path. Measure the clear opening separately from the usable compartment.
Should I test the bag with the charger inside?
Yes. Check device fit with the bag empty, then repeat with the charger and documents in their intended pockets to check pressure and closure.
Which changes require a new fit check?
Recheck affected fit points when the opening, binding, padding or pockets change, and document the result before releasing the revision.